Gravel Ride of the Week: Mountain Biking with a Gravel Bike
Disclaimer: This post contains affiliate links, through which we earn a commission.
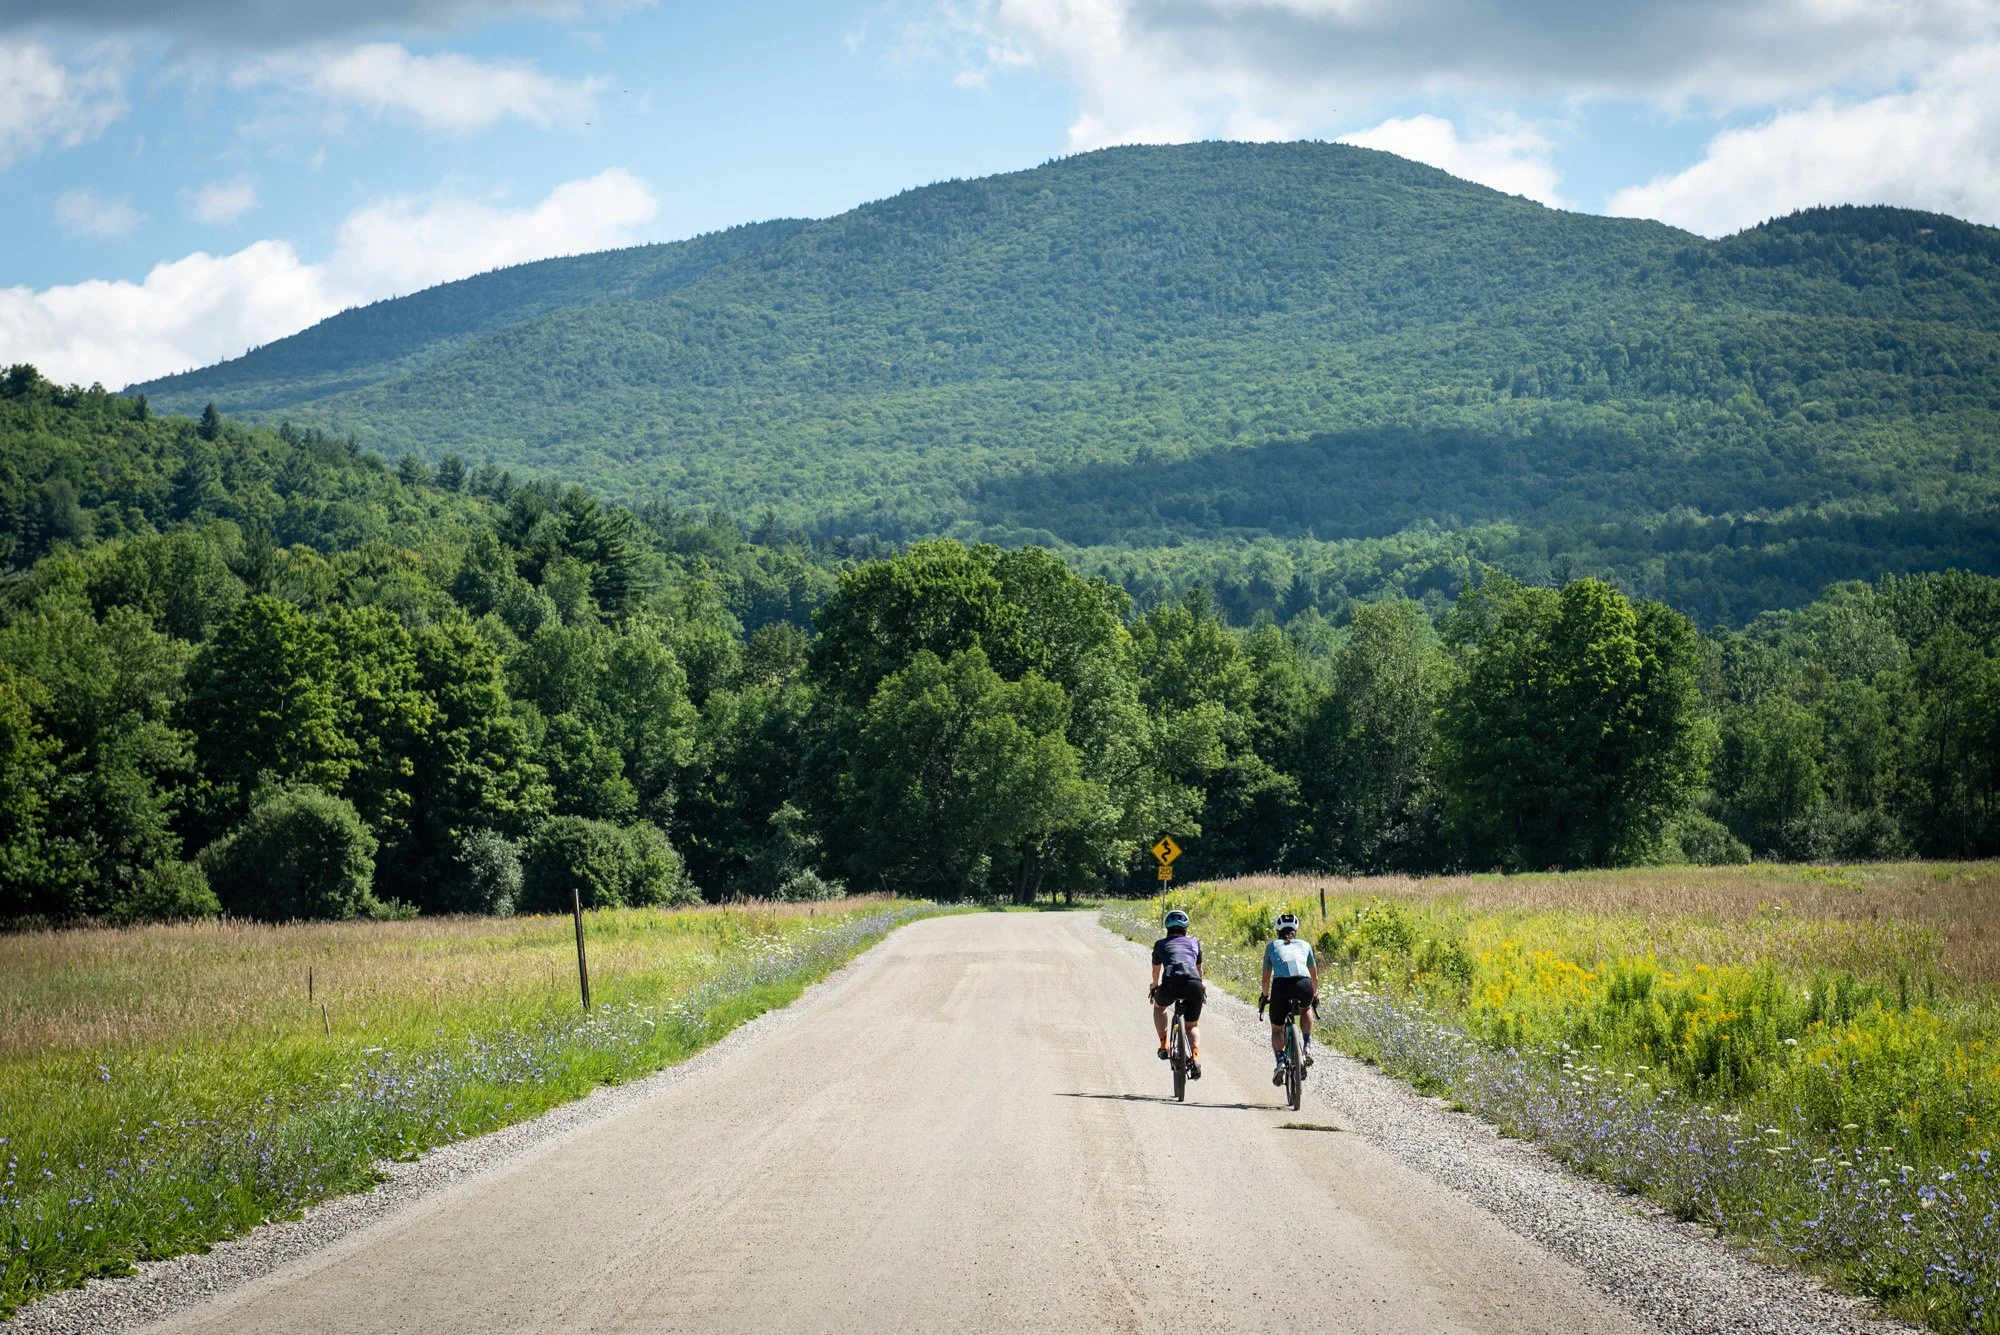
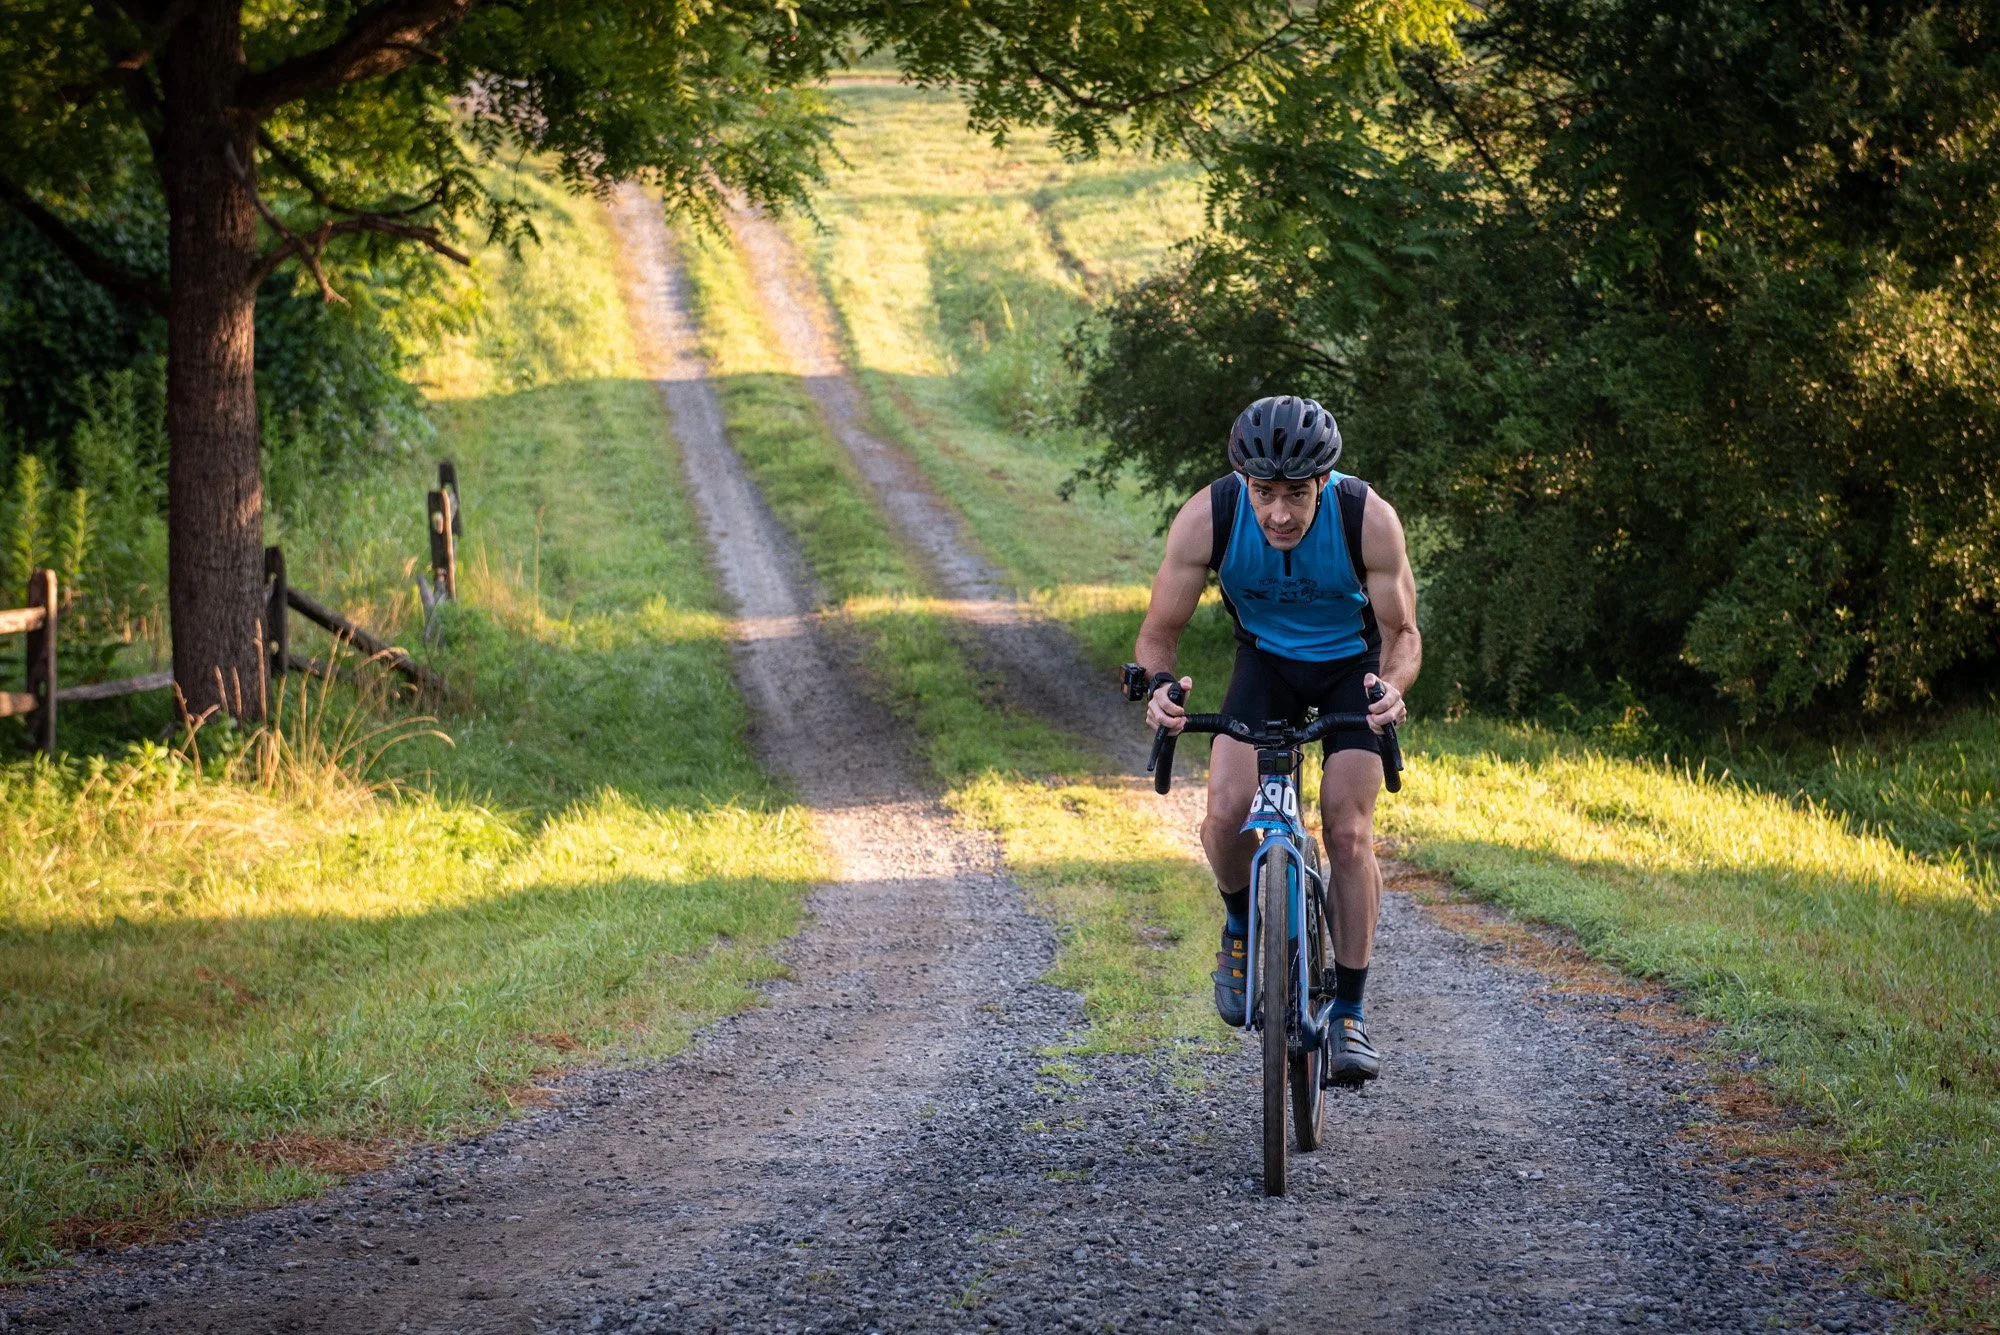
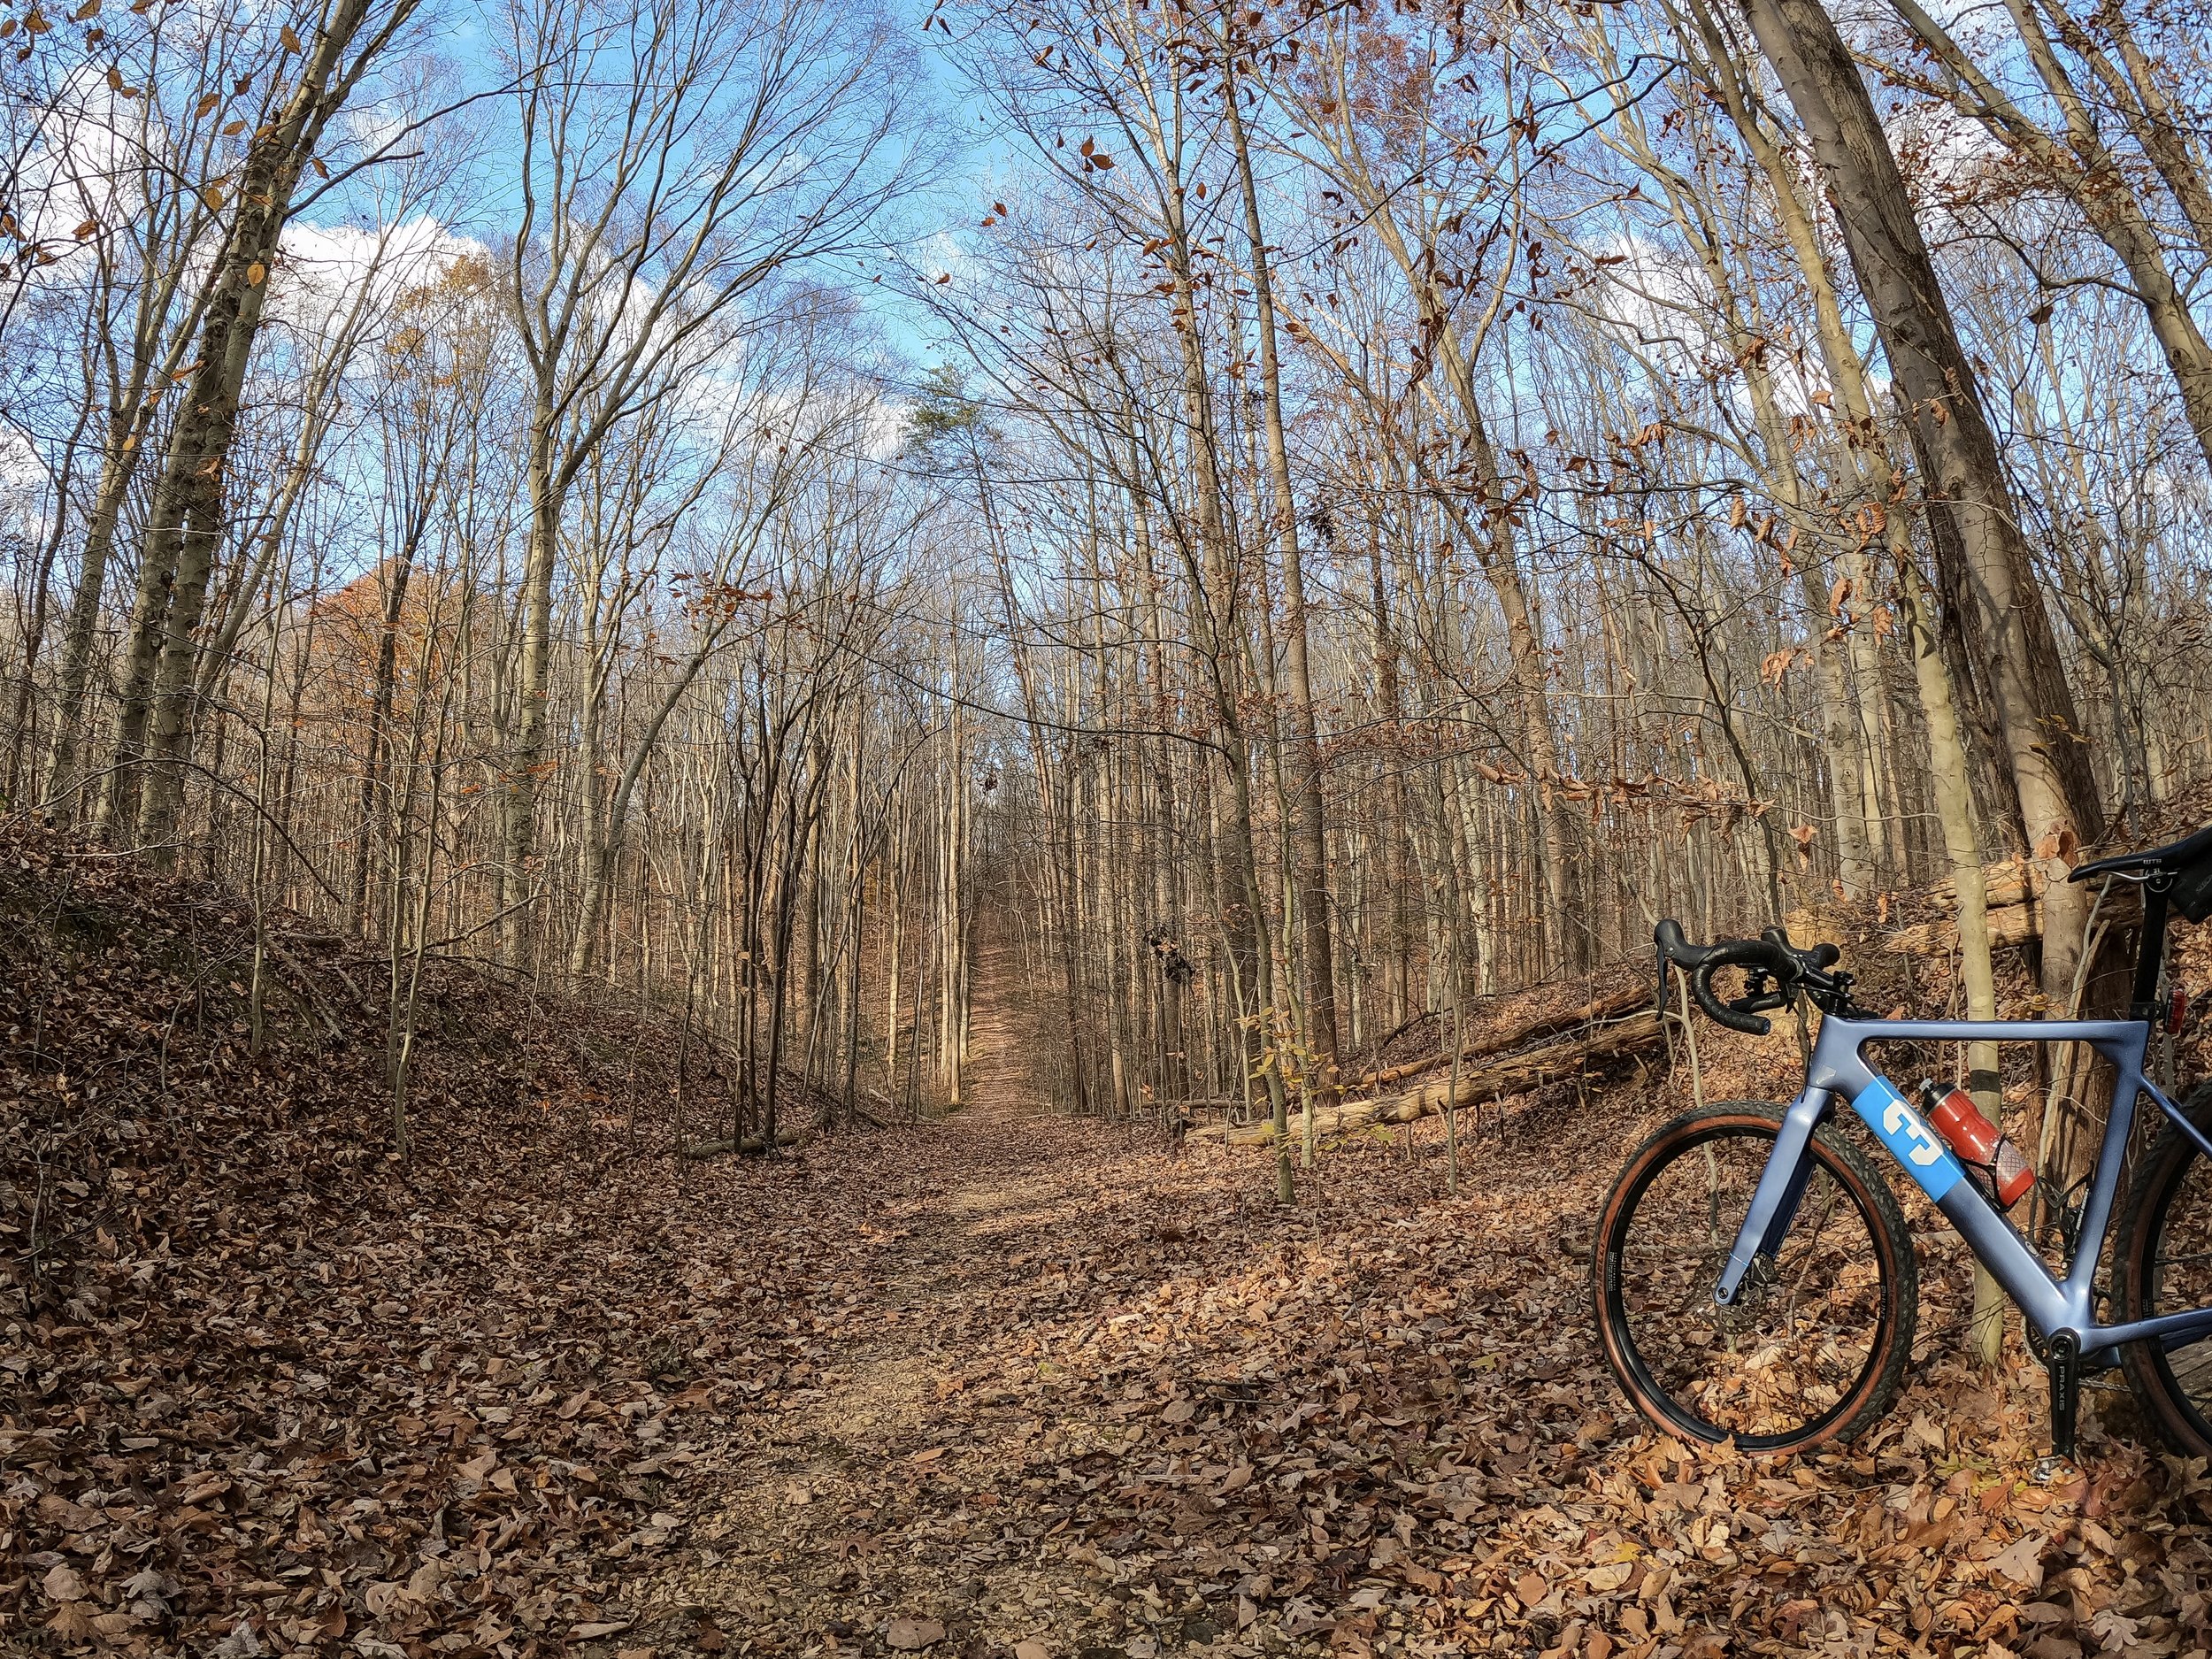
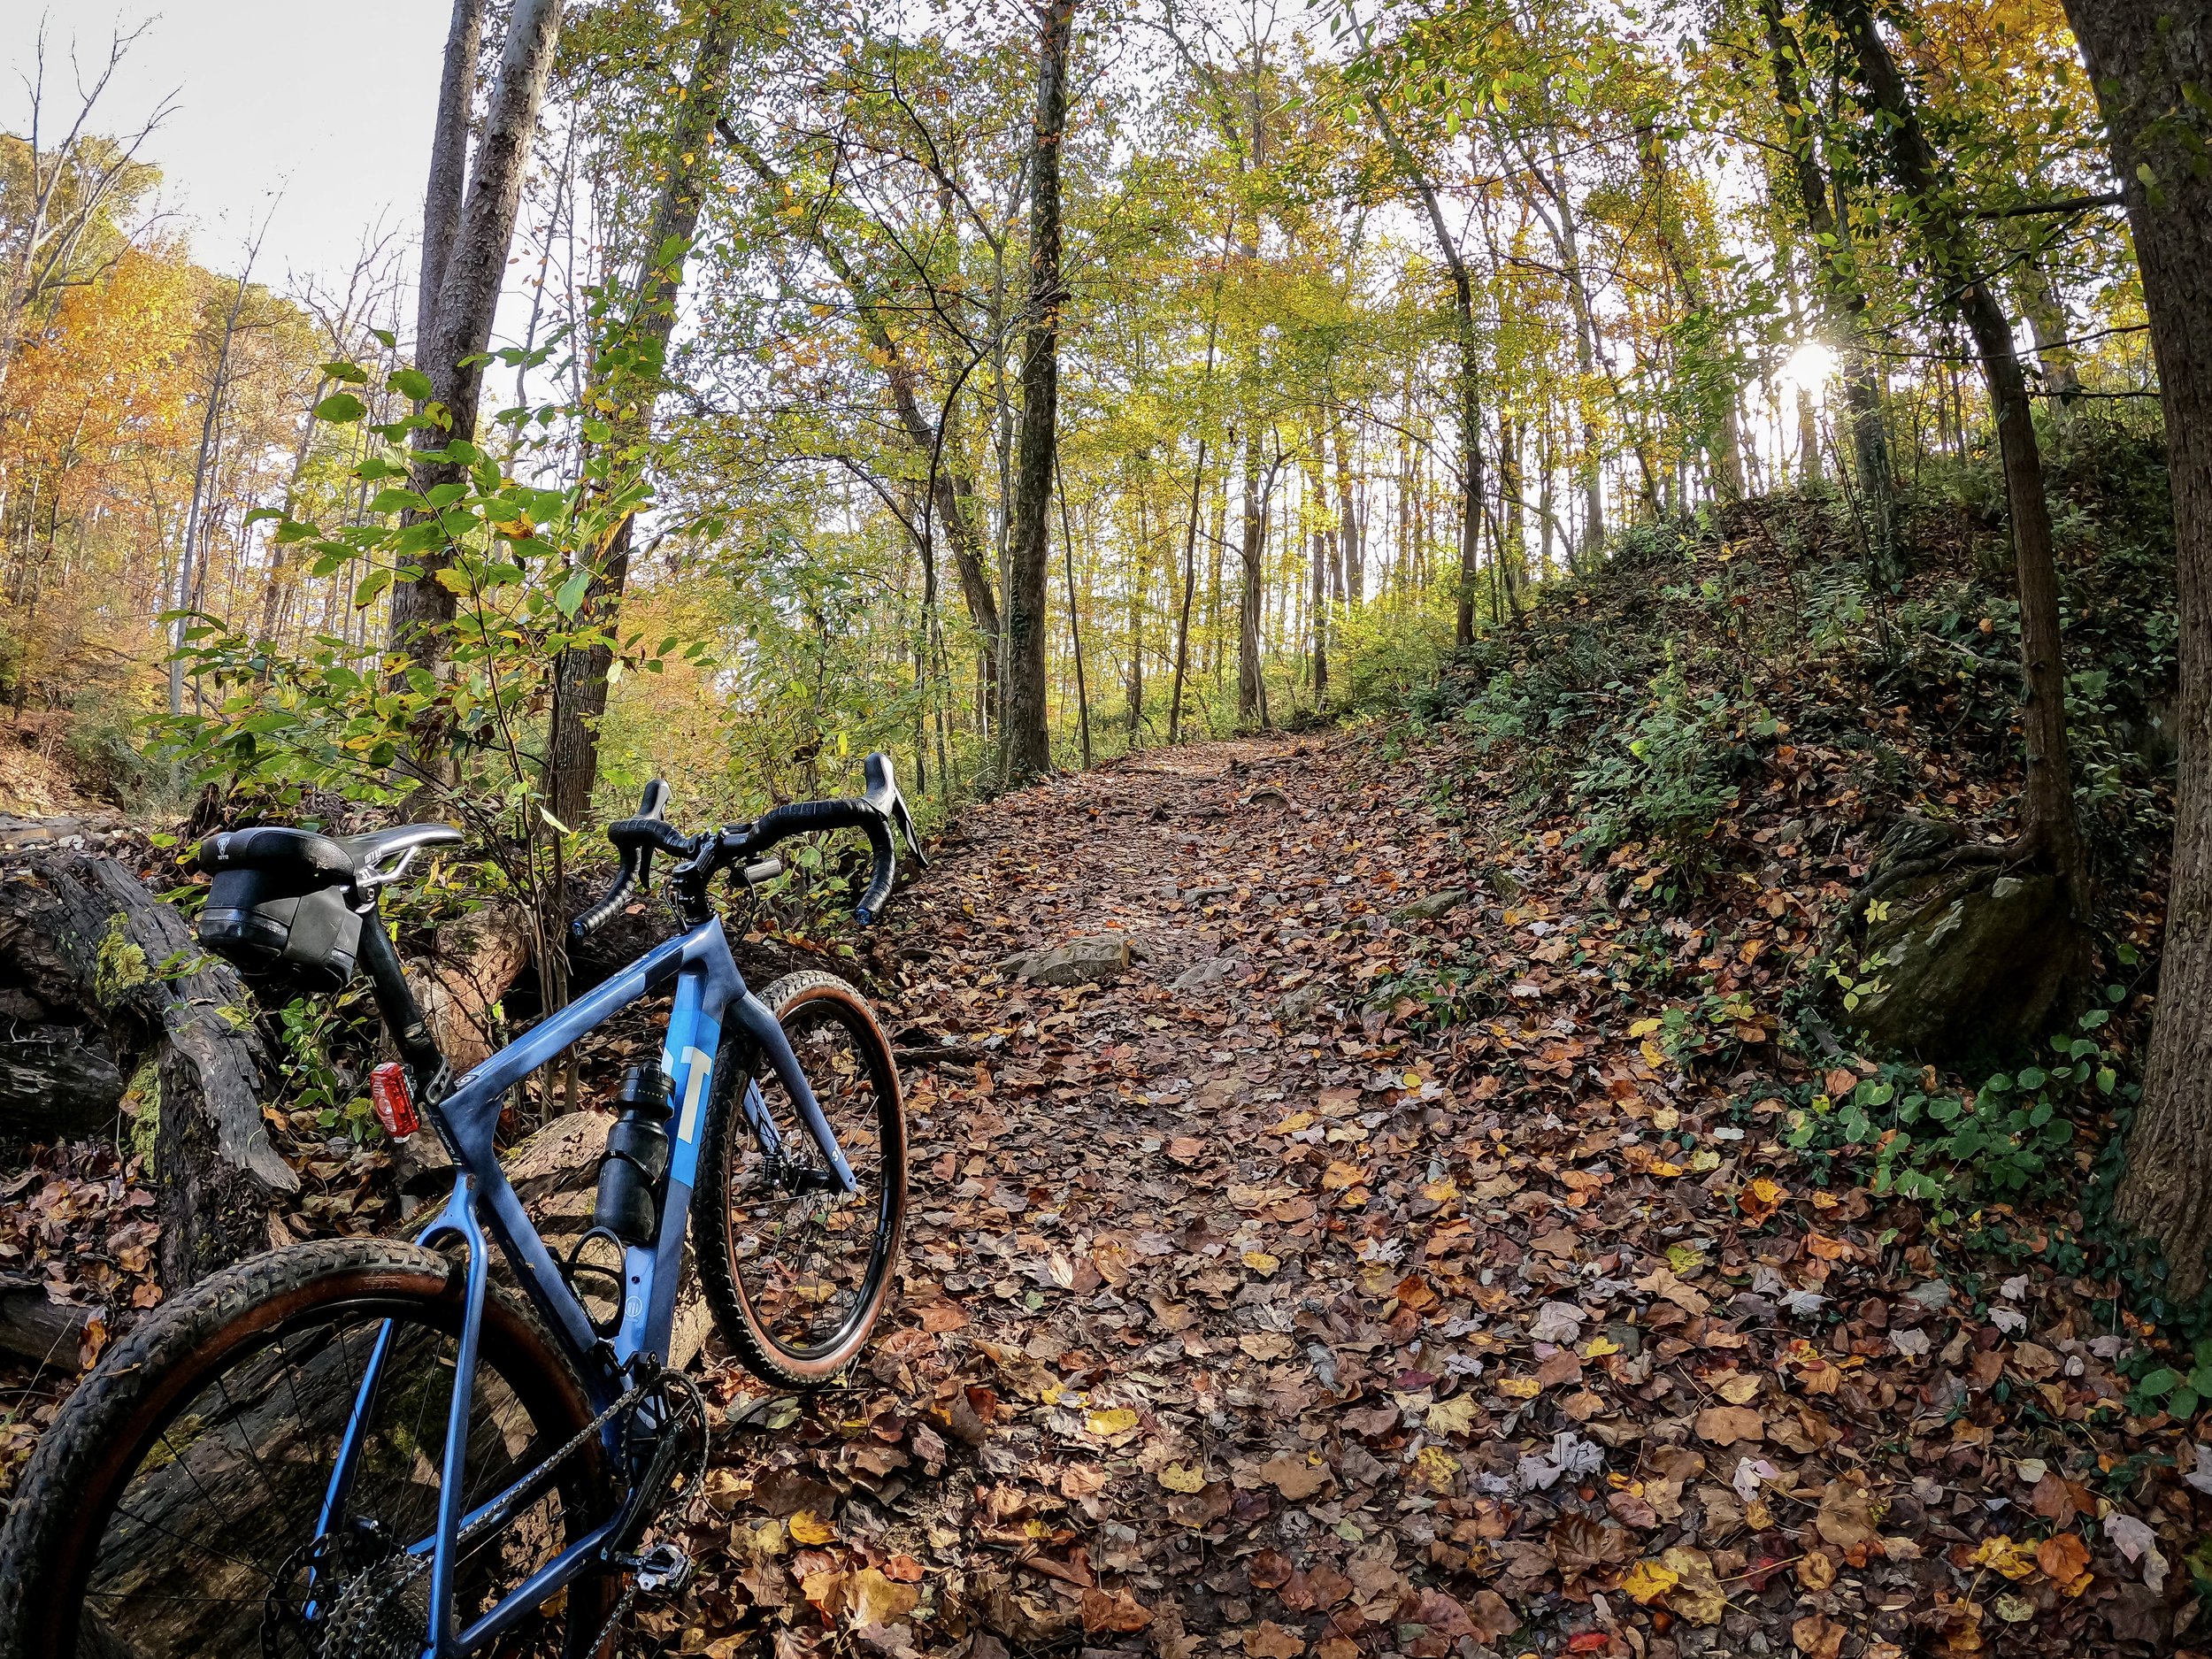
Gravel bikes: the SUV of the bike world, excellent on gravel roads, plenty fast on paved roads. But what about those technical MTB trails? Can one bike really do it all? If you’ve been following along with Mountain Road Ride’s adventures, then you’ve seen tons of rides where I’ve put the gravel bike to good use on both tarmac and gravel roads, but it’s time that we filled in the blanks. In the latest Gravel Ride of the Week, I take my gravel bike for some proper off-road riding and hit some trails. If you’ve ever wondered what’s required to take your gravel bike over technical MTB trails, then this is a ride that you’ll surely enjoy. I mixed in a few of my top tips and recommendations to get you started. Let’s dive into the details!


All-terrain adventure vehicle or marketing hype?
Visit any gravel bike manufacturer’s website and you’ll quickly learn how this bike category is being touted for its excellent all-terrain adventure capabilities. While these bikes have certainly lived up to the hype, in my opinion, it didn’t come without the need for a few modifications along the way. This is especially true when it comes to riding more technical trails that are filled with bigger rocks and tree roots. There are certainly many riders out there that can take their stock standard gravel bikes and put them through their paces under more technical conditions, but for the mere mortals among us, we might have to resolve to a few upgrades to make the going a little smoother.
During the latest Gravel Ride of the Week, I walk you through some of the parts that I’ve fitted to my bike to make riding on trails just a little bit easier. While equipment can surely make a difference, the way that you use it largely dictates the overall riding experience. That’s why I’ve included a few of my top tips for how to approach MTB trails when riding on a gravel bike. Be sure to check out the video for the full breakdown.
In this article I’d like to provide you with a quick overview of some of the upgrades that you might want to consider if you wish to enhance the all-terrain capabilities of your gravel bike.
1. Tire Choice
The most important factor, by far, when it comes to taking a gravel bike on MTB trails is the tire selection. Although some gravel bikes on the market come with suspension (think SRAM’s RockShox Rudy XPLR suspension gravel fork and Reverb AXS XPLR dropper seatpost), most bikes in this category still don’t offer all that much in terms of shock absorption. This means that the main way to eliminate harsh vibrations from ground surfaces, is through the part of the bike that takes the first impact from the surface: the tires.
When taking a non-suspension bike (even a 90’s style mountain bike) over technical terrain, having a wider tire becomes critical to obtain a higher level of comfort on the bike. A tubeless setup is also a must, as this combination of a wider tire and no inner tube allows for much lower pressures to be achieved. Since the only shock absorption lies in the tire, vibration dampening can be achieved by lowering the pressure. Your bike’s tire clearance will obviously be the limiting factor when it comes to the maximum tire width that can be accommodated within the frame, so be sure to check this before buying a tire.


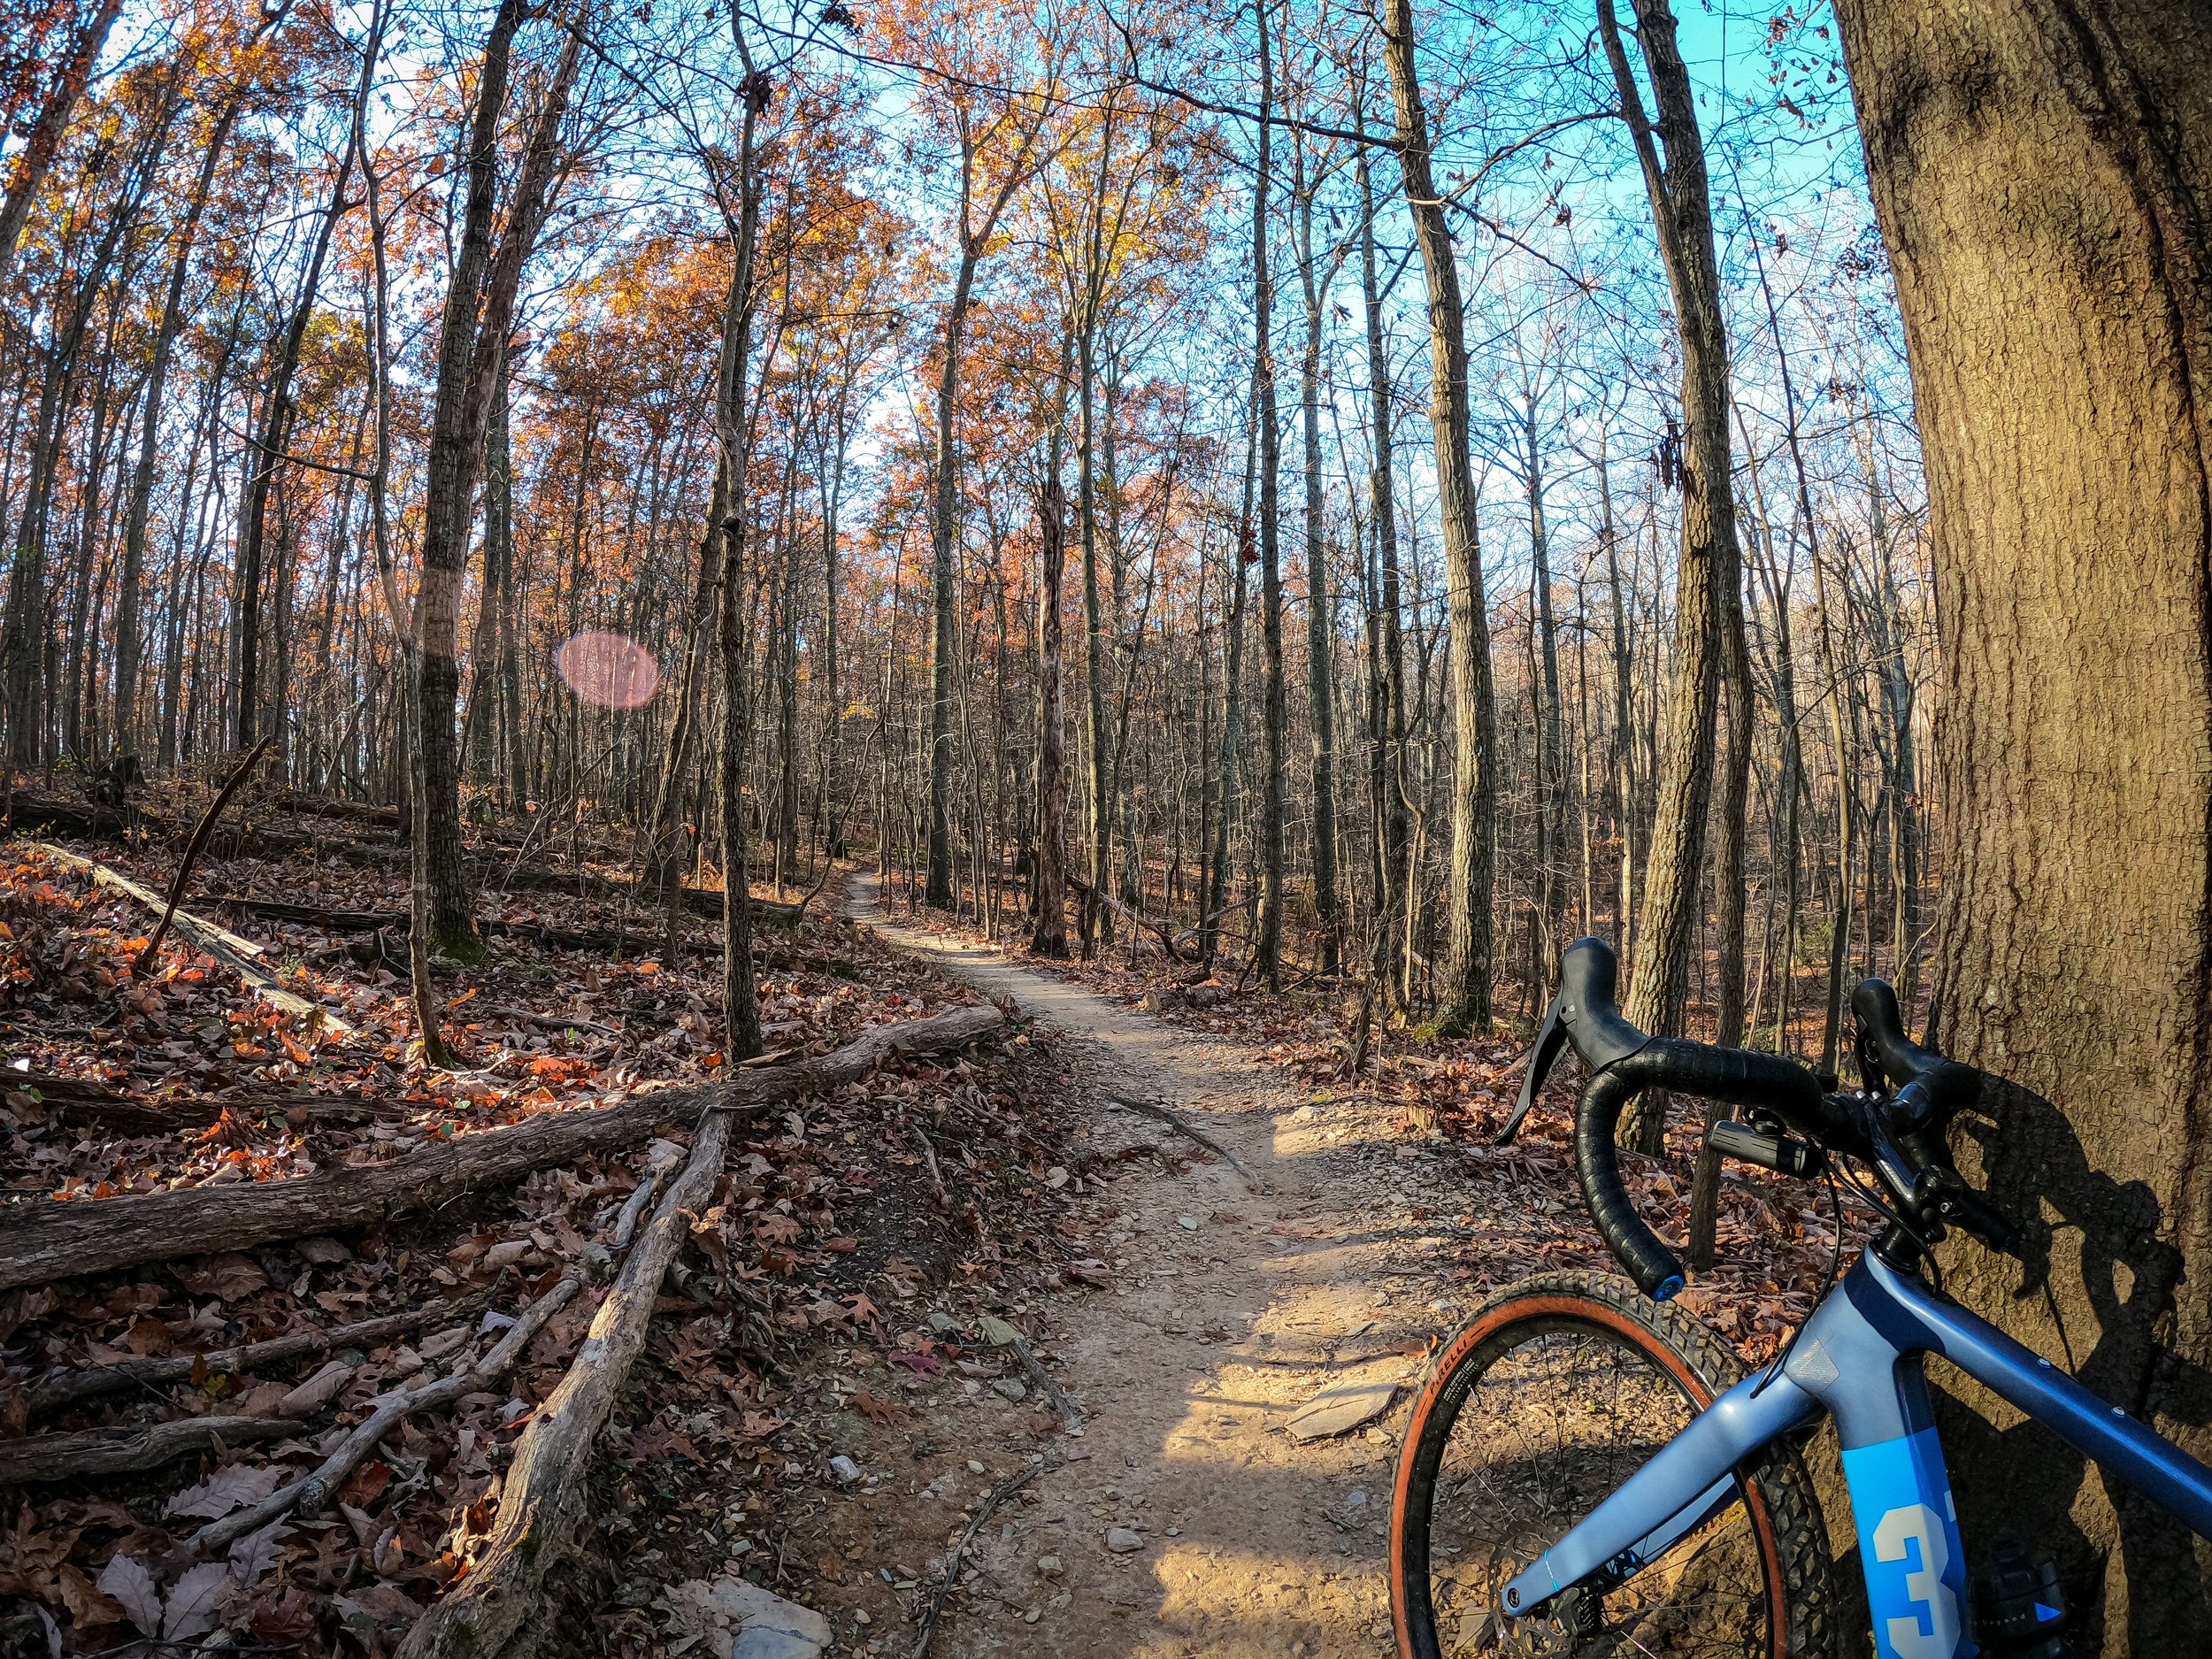
My 3T Exploro’s frameset allows for a fairly wide 2.1-inch (~53mm) tire to be fitted when using a 650B size wheel. I’ve been using the Mason x Hunt 650B Adventure Sport wheelset in combination with the Pirelli Cinturato Gravel M 50x650B tires for well over a year and the result has been a truly incredible experience when riding on the trails. If you want to see my full in-depth review of these tires, then you can find all the details here. This setup allows for the tire pressure to be set as low as 22psi, making for a much smoother ride over the bumpy and rocky MTB trails.


2. Smaller Wheel Size
I hinted at the 650B size wheels in my previous point, so let’s expand on this a bit more. In mountain biking terms, the wheel size known to gravel riders as 650B, is stated as a 27.5 inch wheel. Both 650B and/or 27.5 inch wheels come with the same 584mm diameter, which runs slightly smaller than the regular 700C wheel size with its 622mm diameter.
Why does this smaller wheel size matter? The first reason lies in the bigger tires that it can accommodate (see point number 1). Since the wheel is smaller, the tires can now be wider. Using my 3T Exploro yet again as an example, the tire width would be restricted to only 42mm on a 700C wheel, whereas a 53mm tire can be fitted when using the smaller wheel size.
The second reason why a smaller wheel size might be desirable comes when dealing with the maneuverability of the bike. Many mountain bikers prefer the 27.5 inch wheel size for its quick and agile steering capabilities. The enhanced nimbleness of the bike is certainly an added advantage, especially when it come to bikes with a shorter wheelbase. In the case of my 3T Exploro, I can easily clip my toes with the front wheel when making sharp and sudden turns when running the standard 700C wheel size. This is a phenomenon known as toe overlap. Not all bikes suffer from the same issue, but when present, it can easily lead to unpleasant summersaults over the bars when the tip of your shoe clips the front wheel, while steering through tight corners. When using the smaller 650B wheels, I don’t experience the same toe overlap issue and can ride the technical trails without having to worry about clipping my front wheel. Check your bike for a similar issue.
3. Wider Handlebars
When riding over technical trails, bike handling becomes even more critical than on other surfaces. As such, any enhancements that you can make to your setup that improves the handling of the bike can only be beneficial when encountering rougher sections on the trails. This is where handlebar selection comes into the picture. Gravel handlebars, with their wider profiles, have taken off in popularity over recent years, and for good reason. The slightly flared angle of these alternative handlebar's drops means that the rider can obtain more control and stability when the hands are placed in the drops. The wider stance that you get from a slightly flared bar really does make a significant impact to the level of confidence when riding over sections of the trails that require absolute precision.


Gravel handlebars come in many shapes and sizes and one can easily spend hours trying to narrow down the search to find the exact bar for ones needs. I wanted something with a moderate amount of flare, but also wanted to add some additional stack height to allow for an even more comfortable riding position. This is where the Surly Truck Stop handlebar has worked perfectly for my requirements. My 42cm wide bar offers 12-degrees of flare and the additional 30mm of rise puts me in a more stable position, especially when you consider that the width, as measured at the bar ends, come in at 47.5cm. If you want to see this bar up close and read more about all its features, then be sure to check out my full review. The key take-away is that it has made a world of difference to how and where I can ride, and I can absolutely recommend that you consider a wider bar if you wish to push the limits of your gravel bike off-road.
4. Gearing
Mountain bike trails often include many sections with short, sharp pitches that will test your legs and the bike's gear range to the max. Bike gearing selection can sometimes get a bit technical, just read my Pursuit of 1x Efficiency post as an example. But this topic is worth diving into when taking a gravel bike onto terrain for which it wasn't exactly designed.
It's not uncommon for mountain bikes to be fitted with a 32 or 34 tooth front chainring to help scale the super steep inclines. Additionally, mountain bike cassettes also run fairly big, with the largest cog often coming in at 52 teeth. Contrast this with gravel bike gearing, where the front chainring mostly ranges between 38-42 teeth, and cassettes run up to 40-46 teeth. The biggest observation from this breakdown should be that gravel bikes simply don't have the same (extensive) gear range as mountain bikes. As such, it might be required to change up the gearing on your gravel bike if the terrain that you intend to ride calls for a better suited gear.
In my quest to find better gearing that would give my 3T Exploro the best all-terrain capabilities, I opted to stick with the slightly bigger 42T front chainring, but changed from a round ring to an oval shaped ring. The debate about whether an oval chainring can make any significant difference to one’s riding, is a lively topic, and one that will surely spark many different points of view. I weighed in on this debate when I reviewed my Wolf Tooth PowerTrac Elliptical (Oval) chainring, and in the process I explained how the oval shape has been extremely helpful when climbing up steep inclines. I've been able to get away with riding my local trails when using this chainring in combination with a 11-40T cassette. However, there are many trails that I know would fall outside my gear range should I attempt them, and I therefore also own a 36T front chainring that I'll fit whenever I suspect to encounter really crazy uphills.


Mountain Biking with a gravel bike?
The long and the short is that you can surely get away with riding a gravel bike on more technical MTB terrain, but it should be noted that the going simply won't be as smooth as with a mountain bike, which comes with dedicated shock absorption. As listed throughout this article, there are many modifications that can be made to a gravel bike to enhance its comfort on the rougher trails. This includes wider tires allowing for lower tire pressure, smaller wheel size for better control, a wider handlebar for more stability and better gear selection for steep inclines. Many will argue that by the time you've made all these upgrades, you might as well just buy a mountain bike, which is better suited for the job. I, however, still like the idea that one bike in my stable can be this modular and allows for so many different riding applications. At the end of the day, if you're out to seek adventure, then the bike choice shouldn't be the limiting factor and hopefully this article was helpful to provide a few ideas for how you can be even more prepared for that next epic day out on the bike.
- Wiehan