Converting a Road Bike to a Triathlon Bike – Don't Make My Mistakes!!!
Disclaimer: This post contains affiliate links, through which we earn a commission.
If you are restricted to indoor riding right now, then now might be the perfect time to get your bike ready for outdoor riding when the time comes. While your bike is locked onto a stationary trainer, you might as well use it to your advantage to ensure that you are in the most comfortable and/or efficient position on the bike. While I am no bike fit expert, I want to share my experience about some bike fitting mistakes that I’ve made, to hopefully help others avoid some of the same pitfalls when trying to get into the perfect riding position. If you are looking for all the science and expert tips about the exact way to set up your bike then this post is not for you, but do read along if you want to shake your head at all the crazy things I did with my not-so-successful bike fitting experiment. Check out the video for this blog post here!
Know your frame’s limitations
In early 2019, I made some significant changes to my road bike’s setup and things did not work as well as I had expected. Essentially, I tried to convert my 2014 Trek Domane 4.0 road bike into a Tri bike that I could use in a series of Triathlon events I’d set on the calendar. If you are familiar with Trek’s line-up of bikes, then some alarm bells should already be going off. The Domane range of bikes falls in the “Endurance” category, which means that the frame geometry does not exactly lend itself to a super aero low-end front profile. The stack height & reach, terms that I was not completely familiar with before embarking on the whole experiment, really came back to bite me in a big way. In simple terms, this means that the frame geometry is such that the rider is in a more comfortable, but upright position. That’s all great for a leisurely ride, but not ideal when you are trying to slam your position lower in order to be as aerodynamic as possible. Lesson 1: If your frame wasn’t designed for a TT set-up, then best leave it at that. My advice here would be to consult with a professional bike fitter and learn more about the correct stack and reach measurements for your body type and also for the type of riding you plan to do with the bike.
Let the domino effect begin
The next thing that I learned with my experiment was that one bike adjustment leads to another, and then another. Fixing one problem just creates a whole bunch of new ones in other places. To illustrate this, let’s take a look at my brilliant chain of adjustments to show how they stacked up on one another.

The first logical step in getting a standard road bike to be more aero is through the use of clip-on aerobars. No rocket science to this decision, as this is a step that many riders take to gain some extra speed during an event like a triathlon. I settled on the Profile Designs T3+ Aluminum Aerobars as the weapon of choice to give me that extra boost of speed. Did they help? Yes and no. You definitely gain additional speed by sitting in a more aerodynamic position, but the position is not ideal, especially since the frame design was never optimized for a Triathlon set-up. After a few rides, I started to notice a couple of irritations that needed to be fixed. I particularly noticed that I was in a fairly stretched out position, with my forearms resting on the arm pads. After some further research I learned that the term “arm pad” is actually very misleading when used in the description of aerobars, and “elbow pad” would be more accurate. Here’s where the domino knock-on effect began.

Misnomers makes bike fitting hard
To correct the stretched-out position I needed to move the arm pads (elbow pads) closer to the saddle to allow my elbows to rest on the pads rather than my forearms. This in turn created a new set of problems. With my elbows comfortably resting on the pads, I realized that I had a new issue. The aerobar extensions and pads were getting in the way of my pedaling, causing my knees to bump into it. This is when I discovered the next piece to my crazy set-up puzzle – the Profile Designs Aerobar Bracket Riser Kit. That name says it all, because it allows the aerobars to gain some height through the use of a riser block. The riser blocks come in various sizes and I decided to really push the height of the aerobars and go for a 60mm riser block. This worked well to create some additional room for my legs, so that my knees were no longer bumping into the aero extensions. It did however make the bike handling much harder. You can imagine that with this kind of set-up, there will be a great deal of top heaviness. When tucked into the aero position, I could really tell that my steering skills would have to be on-point.

When marketing statements work too well
After a few rides with this new position, I felt the need to move even closer to my handlebars. I kept inching forward on my saddle and in most instances, I would be sitting on the tip of my saddle just to get better power transfer into the pedals. So, I did what any inexperienced self-taught bike fitter would do and looked to add a new piece of gear to my fast-growing collection. At least by this point I had discovered the importance of frame geometry and realized that the only way in which I could alter the geometry was with a significantly off-set seat post. The Profile Designs Fast Forward Carbon seat post caught my attention. The following statement on the product’s website was enough to convince me to make this the next addition to the bike: “Gold standard carbon seatpost for converting road bike frame geometry into a more aggressive aero position.” I think by now you can see a clear trend developing for a particular brand that I favored in my quest to achieve the desired triathlon set-up. This would also not be the last time that Profile Designs won me over.
Something still feels off
The position was getting better but wasn’t exactly what I was looking for. This is where the fix-one-area-but-create-more-issues-elsewhere effect really began to show. Since I had lifted my aerobars with the use of the riser blocks, the position at this stage left me feeling like my shoulders were all shrugged up. I could not completely relax into the position when sitting in the aero position, which led me to search for the next part of my bike fitting puzzle. I realized that I needed the whole front-end to drop lower and that the only way to achieve this would be through the use of a negative sloping stem. Enter the Profile Designs Aeria Road Bicycle Stem! I told you there would be more Profile design products. The Aeria stem offers a -17 degree slope and once fitted to the bike, it definitely helped to relax my shoulders into the position. Finally, I felt like this set-up was getting to the point where I could use it in a triathlon race. It wasn’t perfect, but improvements in my Strava segments blocked my better judgment in consideration of the precision of the fit.

But wait, there’s more
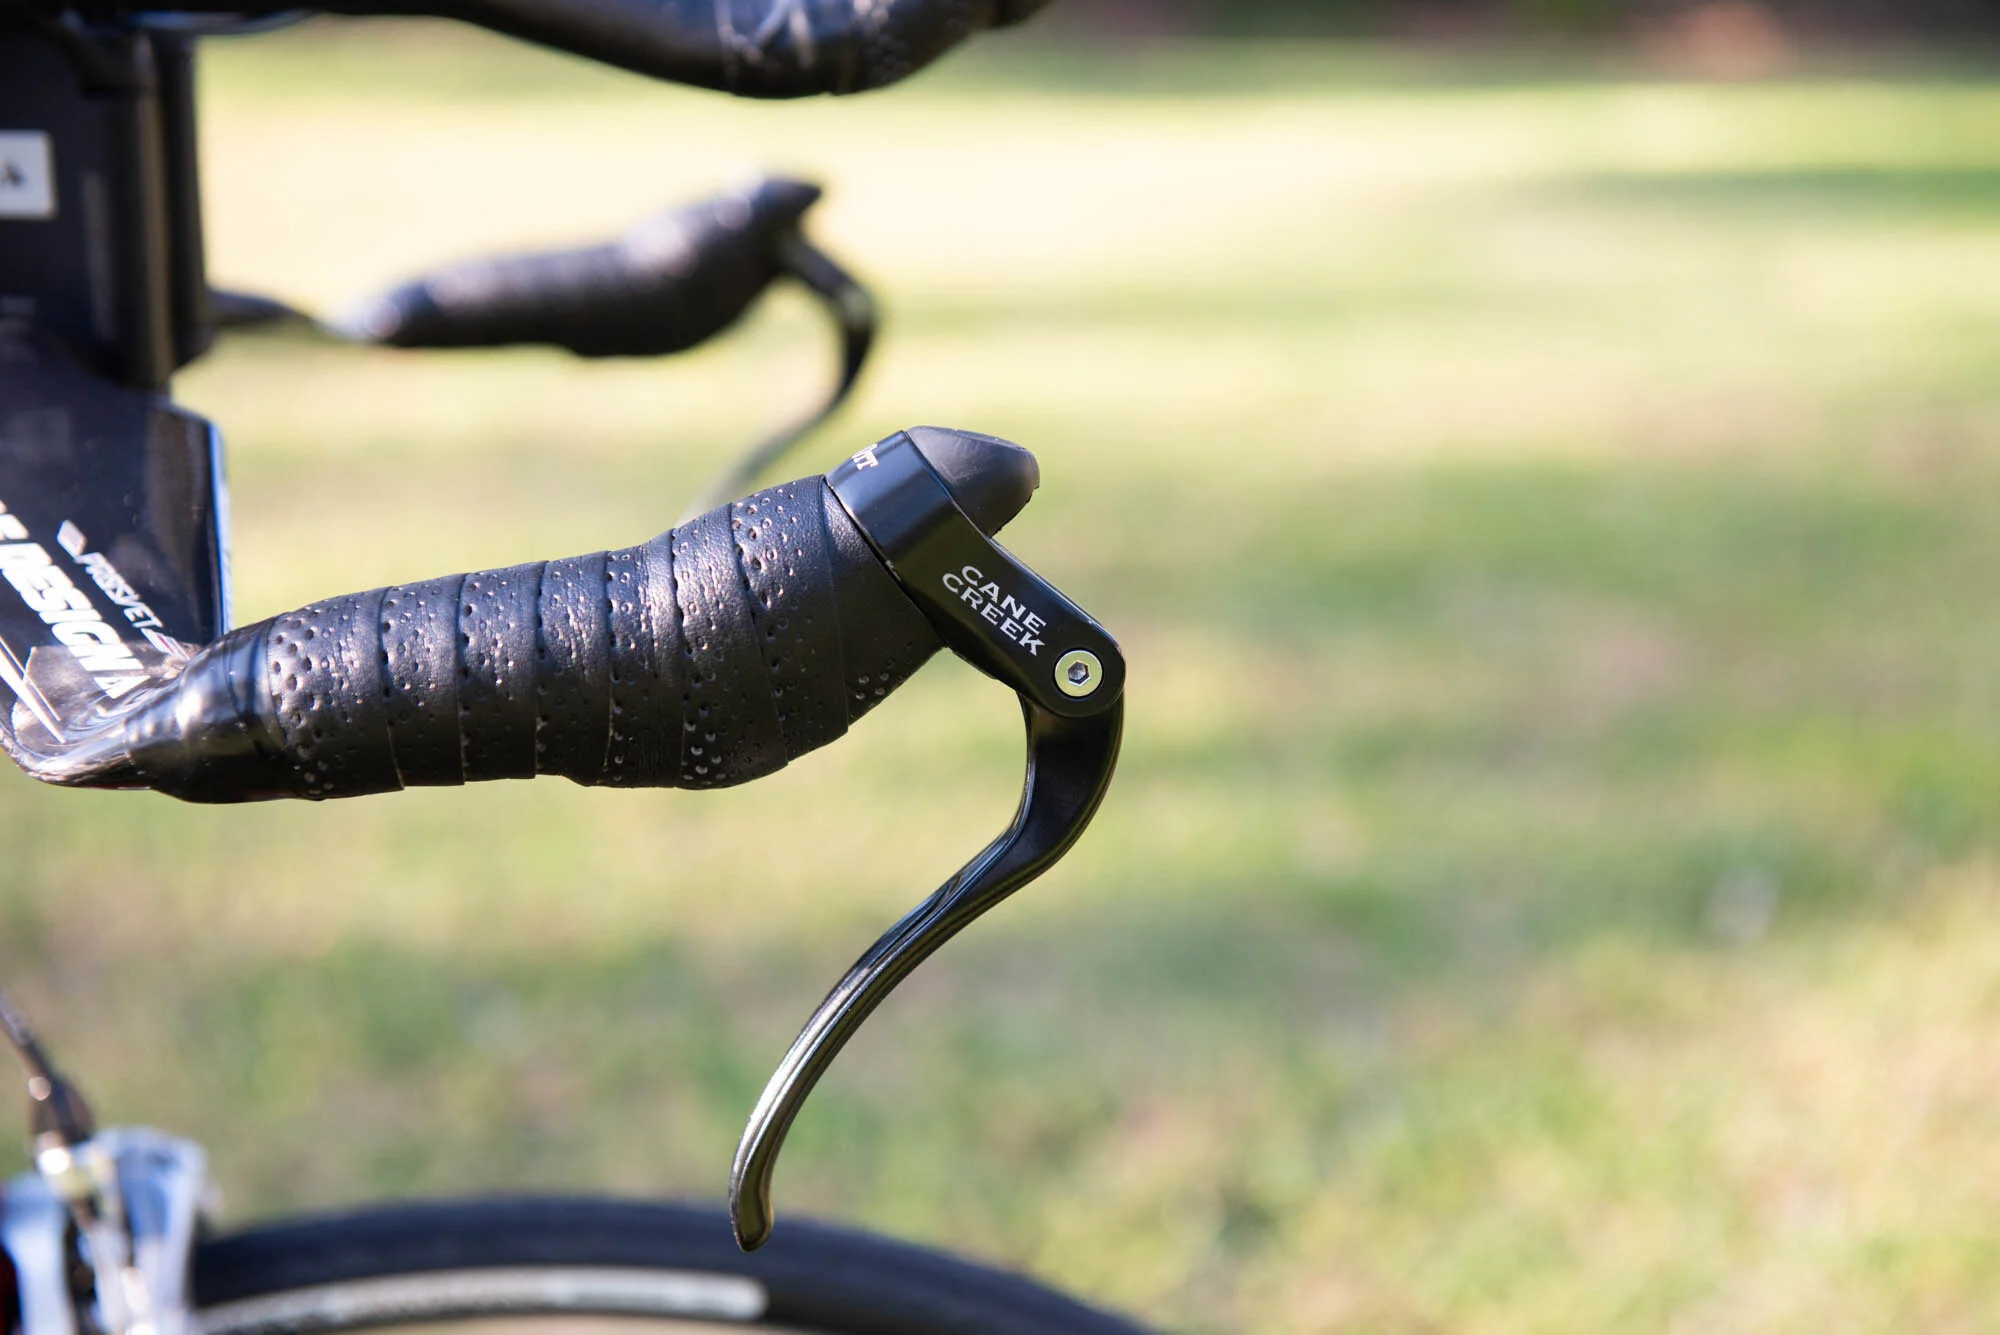
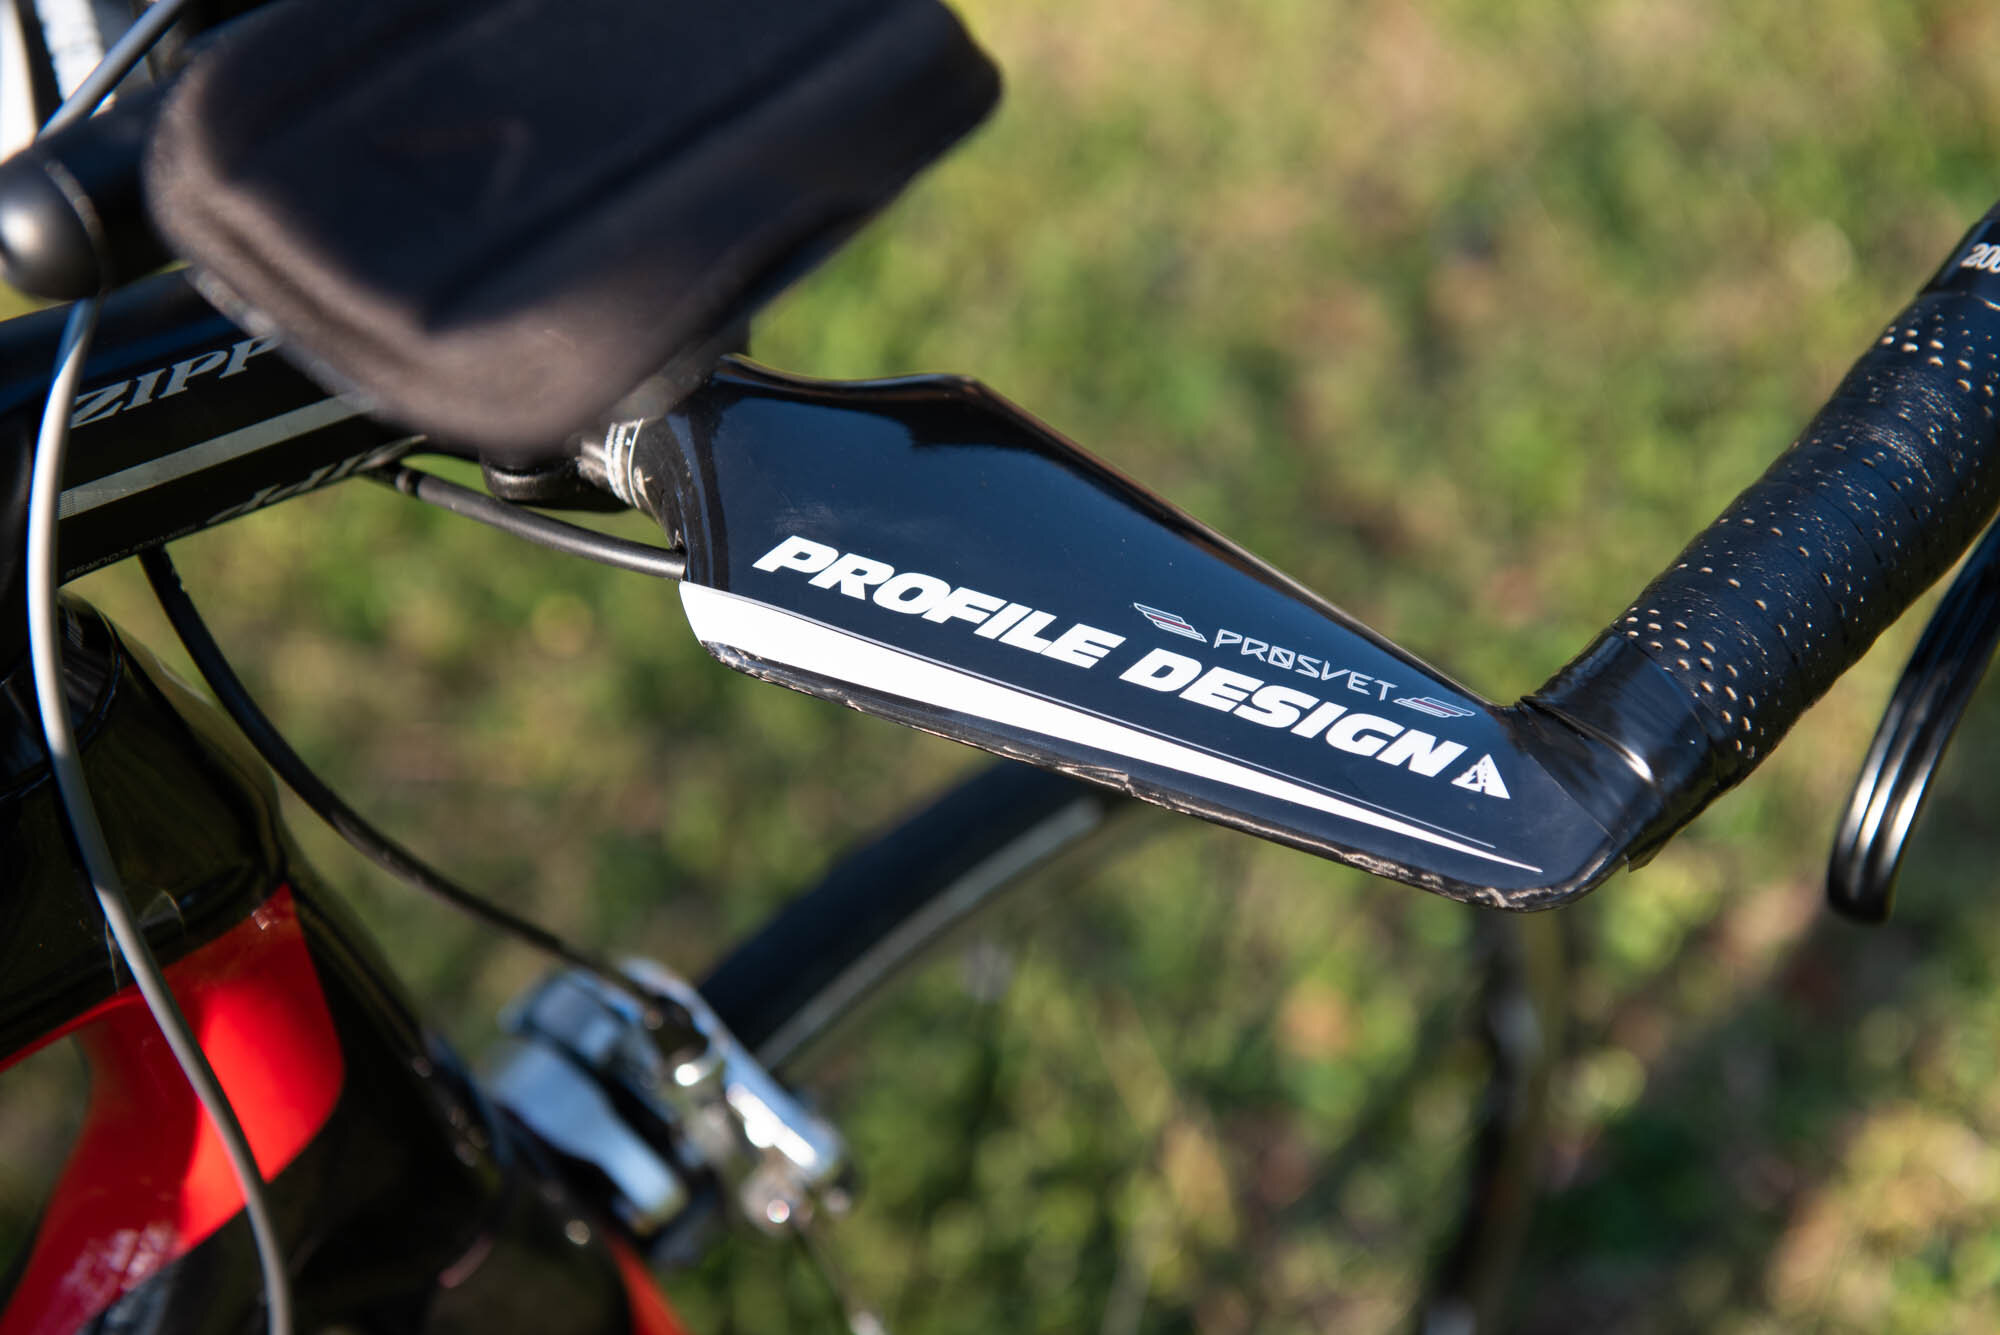
What do you do when you start seeing results? You throw more gear into the mix (Face plant)! With my position on the bike beginning to take shape, I could get pickier about how I wanted the overall experience to look and feel. If you’ve ever tried clip-on aerobars on a road bike, then you will know that one of the most frustrating things is the shifting, especially if you live in a fairly hilly area that requires lots of shifting. The perfect aero position is of no use when you constantly have to move your hands from the aero extensions to the shifters just to change gears. Only with a full Time Trial set-up would I get what I was looking for. After a few rides with the clip-on aerobars I reached that “oh what the heck” moment and decided to just go all in on a full TT set-up. This would require a few additions to complete the package. I needed to replace my road handlebars with an aero base bar, which in turn would also mean that the standard road shifters would be changed up with bar-end shifters along with the addition of TT brake levers. To complete the set-up, I opted to go for the Profile Designs Prosvet Carbon Base Bar (yep, that’s the final Profile Designs purchase for this experiment), Shimano Dura-Ace SL-BSR1 11-Speed Bar End Shifters and Cane Creek’s 200 TT Time Trial Levers. Finally, the masterpiece was complete! Or so I thought.

Then came the injury
Now that I was flying along on my new set-up, I figured it would be all smooth sailing from there. I even made this the name of my first ride on Strava after getting the last part of the bike conversion done: “The Trusty Steed has been Upgraded to a Rocket Ship.” Yep, you can tell I was pretty pleased with myself for taking an old road bike and transforming it into something that at least looked like a triathlon bike. Having entered for my first triathlon race of the season, I was ready to fly along on my newly developed aerodynamic position. The problem was that the original bike frame was never designed for the look and feel of a TT bike and soon I would learn this the hard way. I can’t say I wasn’t warned, however. A teammate commented on my Strava activity, with the suggestion that this wasn’t a great setup, might cause injury and that I should ultimately opt for a tri bike.
After a few rides, I started to develop a seemingly random pain in my calf muscle. I’ve never experienced anything quite like it. It was a pain that hit the upper part of the calf muscle more so than the bottom half. Shortly before the full TT conversion was made, I also replaced my running shoes. I simply wrote off this unexplainable new pain to the change of running gear and didn’t bother to even think that it could in some way be related to my wacky new bike set-up. After a few physical training sessions, things still weren’t improving, and I was at the point where any kind of running was almost impossible. This strengthened my thought process that the injury had to be running and not cycling related. I was signed up for an Olympic distance race and I wasn’t going to let a random calf injury keep me from racing. Competing in the race was an extremely painful experience. I managed to cross the finish line, but the effort certainly aggravated the injury even further. After that race, I quit all running for a number of weeks, yet the injury still lingered. This was the point when I started to realize that maybe the bike could be adding to the injury and (finally) called a local bike shop to set up an appointment for a bike fit.
Too little to late
Yep, after all that effort, I only turned to the professionals as a measure of last resort. During the fit consultation, the fitter gave me a proper schooling about the stack and reach limitations of the frame and basically highlighted why the position was completely off. The higher stack height of the Domane frame made it impossible for him to drop the front-end into the required position. The shorter reach of the frame design also meant that a massively long stem was needed to correct the frame limitations. The only real solution to the problem would be to replace my frame with something that was designed for a TT set-up.
What a major disappointment! I had spent a good bit of money on the current set-up and really didn’t want to fork out any more cash for a whole new frame. I asked the fitter how close he could get me to the correct position, but the options were fairly limited. The best thing that he could recommend was to replace the stem with a longer one. This was done through the use of a Zipp Service Course SL Stem. Additionally, I thought up one last change that I felt was required on the bike. Yep, I still felt the need to add more to a bike even when a professional was telling me that I should just have left it as a road bike. There was however some logic to my thought process, so hear me out on this one.
The crankset fitted to the bike at that stage was a 53/39t chainring combo with a 175mm crankarm. This was completely unsuitable for the area I live in. When I bought the road bike, I was living in a place that was mostly flat, but currently my training grounds consist of fairly hilly roads. The 53/39t had to go, and the 175mm crank was also way too long. Longer crankarms meant a lower number of revolutions per minute (RPM), which was the opposite of what I needed. I prefer to spin at a higher cadence and have found that my best power numbers come from a higher RPM. I figured that my best bet would be to simply get my newly adapted bike into the most comfortable set-up possible, ride it for that season and then have all the components transferred to a new frame during the next season. Following that logic, I would at least in some way extract value out of the many purchases that I had already made. Therefore, spending more on a new crankset was at least in part justified, if it could be used in the future on a different frame. This bring us to the very last piece of gear that was added to my bike. I could at least consult with the bike fitter on this topic and he suggested that I shorten the crankarm considerably to better work with the TT set-up. I ultimately settled on the Shimano 105 R7000 crankset with a 50/34t chainring combo and a 165mm crankarm.
Bike fittings typically provide invaluable information for a cyclist. As such, the sessions require a big investment of both time and money, as they can cost several hundred dollars, and the process can take several hours. I, however, left the session feeling like it was wasted money, since the fitter really wasn’t able to do much for me, given the restraints of the frame and all the changes that I had already made to the bike. It was yet another lesson learned. In hindsight, I should have started the whole bike fitting experiment with the fitter, rather than seeking professional consultation as a last resort. After spending a great deal of time and money on this project, I was determined to get some value from it and decided that no matter the consequences, I would simply ride the set-up as it stood for the foreseeable future.
You live and you learn
Fortunately the body is a wonderful thing and can adapt to the weird changes that we throw its way. My injury healed up after a few weeks of lighter training and I could finally compete in a few of the planned triathlons on my calendar. The awkward position that I had created with my bike fit was placing additional strain on my calf muscles (as opposed to the quads) and I suspect that the muscles were slowly adapting to the new demands that I was putting on it. Interestingly I also discovered that as I was training outside more and not on an indoor trainer, the injury also improved. There really is something to be said about how a simulated indoor riding experience can add to an already aggravated injury. None the less, my training volume started to pick up and I could at least ride and run without any pain. I wasn’t in my best shape, but I still managed to squeeze in a good result to qualify for the US National Olympic distance triathlon championship. You can read about my race write-up and see photos of me onboard my “rocket ship” here.
Wrap-up
It’s now been just about a year since I’ve made all the changes to my bike. The injury (fortunately) did not return even after continued use of the bike, but things have never truly felt completely right with this set-up. I have given this set-up a fair chance and think that in some way I’ve at least extracted value out of all the changes that I’ve made to the bike - at least that’s what I like telling myself. At this time, my riding requirements have changed, and I won’t be pursuing as many triathlon races this year, because I’m concentrating instead on gravel cycling. I will therefore be taking the bike back to the shop to reverse it all back to the original components of a regular road bike. Yes, all that effort for one season of use.
The key take-away from this experiment is to know the limitations of your equipment and expertise. If I had started the process by consulting the fitter from the get-go I might have been able to save a good deal of time and money throughout the process. I deliberately wanted to avoid taking a “here’s how to do things right” approach with this write-up. I still don’t think that I’m qualified to give that kind of advice, but I do hope that my weird and wacky experiment can in some way help someone else to avoid some of the same mistakes. Consult with your local professional bike fitter before embarking on your next bike upgrade.
Please leave a comment below to tell me what you think I could have done differently. Do you have similar bike set-up experiments, and did they go well or maybe turn out like mine? Let us know!
-Wiehan