Cheap & Budget-friendly (<$200!) Zwift Setup
Disclaimer: This post contains affiliate links, through which we earn a commission.
What a crazy time in history! I don’t think I have to restate the obvious of why many people are now stuck indoors and why so many are turning to the indoor training app Zwift to keep fit during it all. We’ve seen a massive inflow to the number of new subscribers using the training platform as people look for ways to maintain sanity, especially as the option to ride a bike outdoors becomes increasingly restricted. The peak Zwift number (the total number of concurrent Zwift users) keeps rising on a daily basis. This means that more people are rushing to reach for their credit cards to load up with the latest and greatest smart indoor trainer products just to allow them to ride a bike indoors. Mountain Road believes in maintaining a healthy balance in life, and this most definitely includes keeping a view on your finances. Now is most certainly not the time to break your budget just to ride out (quite literally) the economic storm hitting the world. There are however a few cheaper alternatives to getting connected to an indoor training app of your choice and we’ll explore them in this post.
To get started with Zwift in an affordable manner you will need two things (three if you want to count the actual bike). At a minimum, you’ll need an indoor trainer and a means to capture and broadcast your ride data. At both levels, you will find that there are more accurate (but also more costly) options available. The major focus will, however, center on how affordably we can create an indoor riding set-up. If you don’t own a bike, but want a quick way to get started, then also be sure to check out a previous post that I did about how to use a spinning bike to ride on Zwift. You might even want to consider checking with your local spinning studio to see if they’re currently renting out bikes during this difficult time.
1) Indoor Trainer:
First you will need a means to recreate the riding experience indoors. There are many smart indoor trainers on the market that can provide advanced ways to interact with the virtual terrain, but this comes at a heavy price tag. The Tacx Neo 2T (~$1300), Wahoo Kickr (~$1200) and the Saris CycleOps H3 (~$1000) are a few examples of the high-end trainers on offer today. These trainers offer automatic resistance control that will replicate the inclines of the virtual world to make it feel like you are actually riding on that type of terrain. They also offer built-in power measurement. This means that you can actually skip out on the second requirement (capture and broadcast data), since these devices already have that built in. Those advanced features obviously don’t come cheap.
The budget alternative is to look at a trainer that required controlling the resistance manually. Most of these trainers follow the “wheel-on” design, allowing you to simply take the full bike, including the back wheel, and clamp it into a trainer. In contrast, most high-end smart trainers require taking the rear wheel off and attaching the rest of the bike to the trainer.
Here are some examples of budget-friendly trainers (from recognizable brands):
· Bell Motivator 2.0 Magnetic Resistance Trainer ($99.99)
· Tacx Blue Twist Indoor Bicycle Trainer ($153.97)
· Saris CycleOps Indoor Bike Trainer Magnetic Plus Cycling Trainer ($189.99)
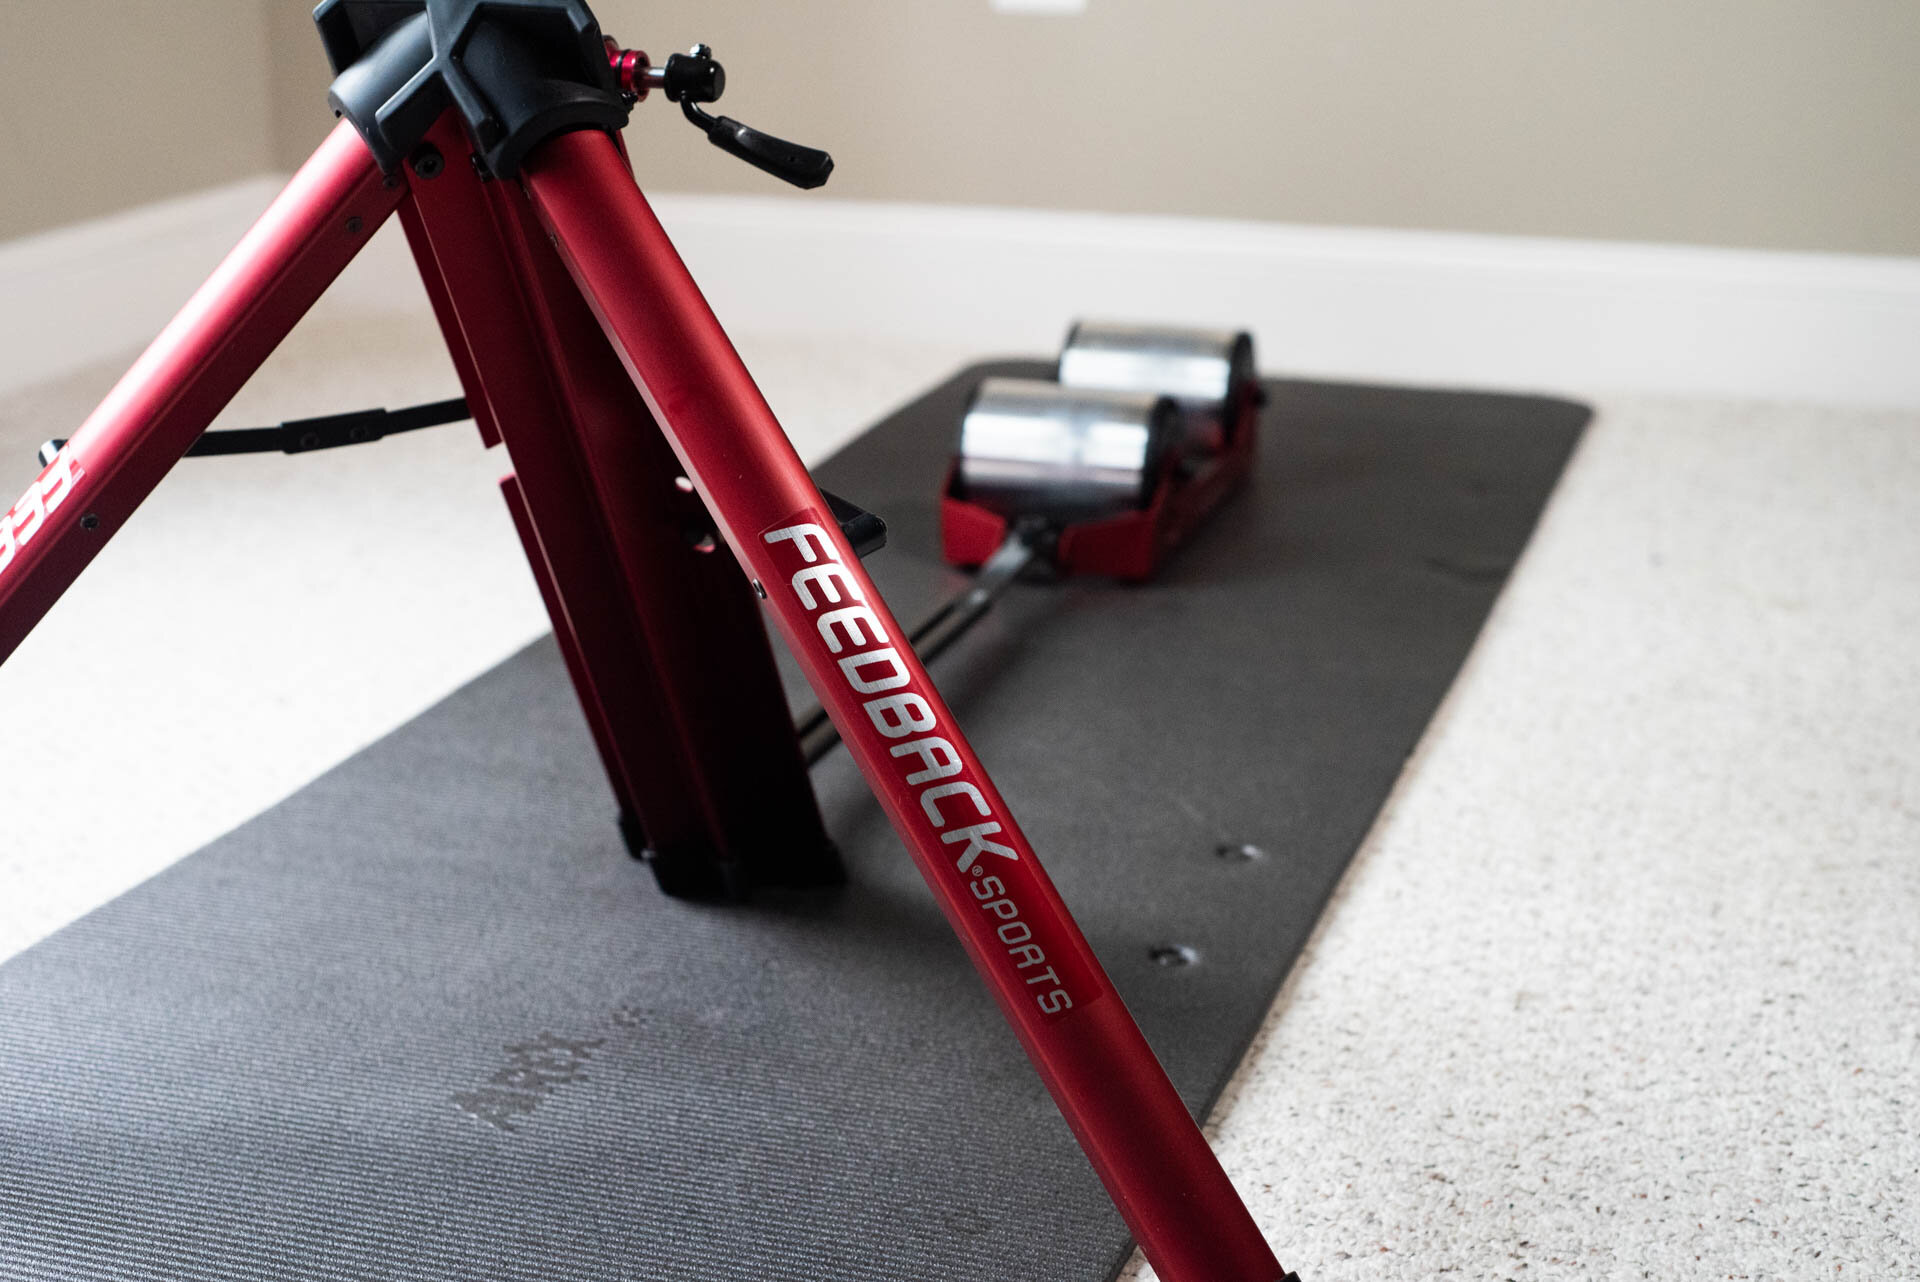
· Feedback Sports Omnium Zero-Drive Portable Zero Resistance Trainer ($349.99)
This is by no means a complete list and you will certainly be able to find plenty of other trainers (think of the used market) that do pretty much the same thing. The basic idea is that even on a tight budget, you still have plenty of choices to get your bike set up for indoor riding. I personally own the Feedback Sports indoor trainer and can tell you that this is a high-quality device that will not disappoint. You can read more about my experiences with this trainer in the post that I did about simulating gravel cycling indoors.
2) Capture & broadcast your ride data
The second step in the process is to have your ride data transferred over to the device that will be running the Zwift application. Since the aim is a set-up that is as budget friendly as possible, then I’ll assume you already have your Zwifting device in your pocket – your phone. An iPhone or iPad is really all you need to get started with the Zwift application. If you own an Android device, then be sure to check out the list of devices that Zwift recommends will work best with their platform.
Next, we need a way to transmit the riding data to a phone. All of the above-mentioned phones or tablets rely on Bluetooth to receive data, which makes it easy to look for one solution that will work with all. This is where the next piece of our puzzle comes in.

The Wahoo RPM Cycling Speed and Cadence Sensor ($69.97) is a great solution to get going easily. In this package, you get a speed sensor that connects to the hub of the rear wheel and a cadence sensor that connects to the crank. Boom! That’s it. The Wahoo sensor will capture your riding speed and transmit this to your phone (and Zwift app) via Bluetooth. If you don’t mind one additional step during the installation process, then you can knock another $10 off the cost and go for the Wahoo Fitness Blue SC Speed and Cadence Sensor ($59.99) instead. This is a two-in-one sensor that captures both the speed and cadence, but it does require the fitting of a magnet to the rear wheel – something that’s not required with the previously noted sensors.
One thing to note is that the data transmitted to Zwift via the speed/cadence sensors might not always be 100% accurate. Zwift makes use of a calculation, called Zpower, to estimate the power output you are generating, given the speed that you are producing. That estimated power number drives your avatar in the game. If you want more accuracy, then you might need a different way to capture your ride data. Similar to trainers, there are numerous premium options available. If you are thinking longer term and want to fit something to your bike that will ultimately be useful outdoors, then maybe think about a power crank or a pair of power pedals. Power cranks are often fairly complex to fit and will require the specialized tools from a bike shop. Power pedals, on the other hand, only require a 15mm wrench or a hex tool to fit, making this a much more accessible alternative. I’ve owned the Garmin Vector 3S power pedals for the last 1.5 years and have been very pleased with their performance. Favero offers great power accuracy in the form of the Assioma power pedals. Power pedals give you the ability to train indoors on apps like Zwift, but at the same time also provide accurate numbers when you’re able to ride outdoors. That’s great value for money!
Wrap-up:
If you combine the cost of the most entry-level trainer from Bell ($99.99) with the Wahoo sensor (~$60) then you can get a Zwift ready indoor trainer set-up for well under $200. I know that this is in no way a state-of-the-art set-up and the full Zwift experience will certainly be muted. If you simply have the goal to get through this challenging time and only require the most cost-effective way to ride your bike indoors, then the budget options as listed in this post will be more than sufficient.
I hope that this post could help in some small way to cope with the challenging times that we are facing. If you have any other ideas about a budget option to ride indoors on Zwift then please go ahead and leave them in the comments section.
- Wiehan