DIY Spring Tune-Up: It’s Time to Refresh Your Bike
Disclaimer: This post contains affiliate links, through which we earn a commission.
It’s that time of the year when spring is just around the corner and the first signs of warmer weather are beginning to show. This past winter has been particularly challenging for those living in North America and with the season beginning to change, it really creates a renewed bounce in one’s step, especially if you’re a cyclist! However, before you pull that dusty bike from the storage, or take it off the indoor trainer, it might be worthwhile to give it a proper inspection, to see if anything requires an upgrade or replacement. Giving your bike a proper cleaning and freshening up some parts will not only make for a safer outdoor ride, but will also create a much more enjoyable experience. The whole aim with a spring tune-up is to get the bike looking and feeling as close to new as possible. Not all work has to be done by a shop either and there are plenty of ways in which you can refresh your bike on your own. In this post and the step-by-step video that goes along with it, I’ll show you how I got my bike ready for the outdoor riding season. Let’s get started and look at the updates that I made to my road bike throughout this DIY spring tune-up.
Spring Tune-Up
For my spring tune-up I wanted to make a few bike updates that would breathe fresh air into an otherwise slightly aged road bike. After some good use throughout 2020 and the winter indoor season, my bike was in need of some TLC. I decided to fit a few new components to freshen up the ride. Here is an overview of the procedures that were included in this tune-up:
Refitted carbon wheels
Installed new cassette
Replaced the brake pads
Removed the cranks and serviced the bottom bracket
Installed new chain
General bike cleaning

Tools & Supplies
You'll need a few tools to be able to complete the maintenance tasks that I'll mention in this blog post. I won’t focus on the tools in detail, but do check out my "10 Tools Every Gravel Cyclist Must Have" post to see a comprehensive list of tools that might come in handy. Beyond the tools, you might also want to grab some workshop towels, dedicated bicycle grease, some gloves to keep your hands clean and even some baby wipes to wipe down and clean the frame.
Install a New Cassette
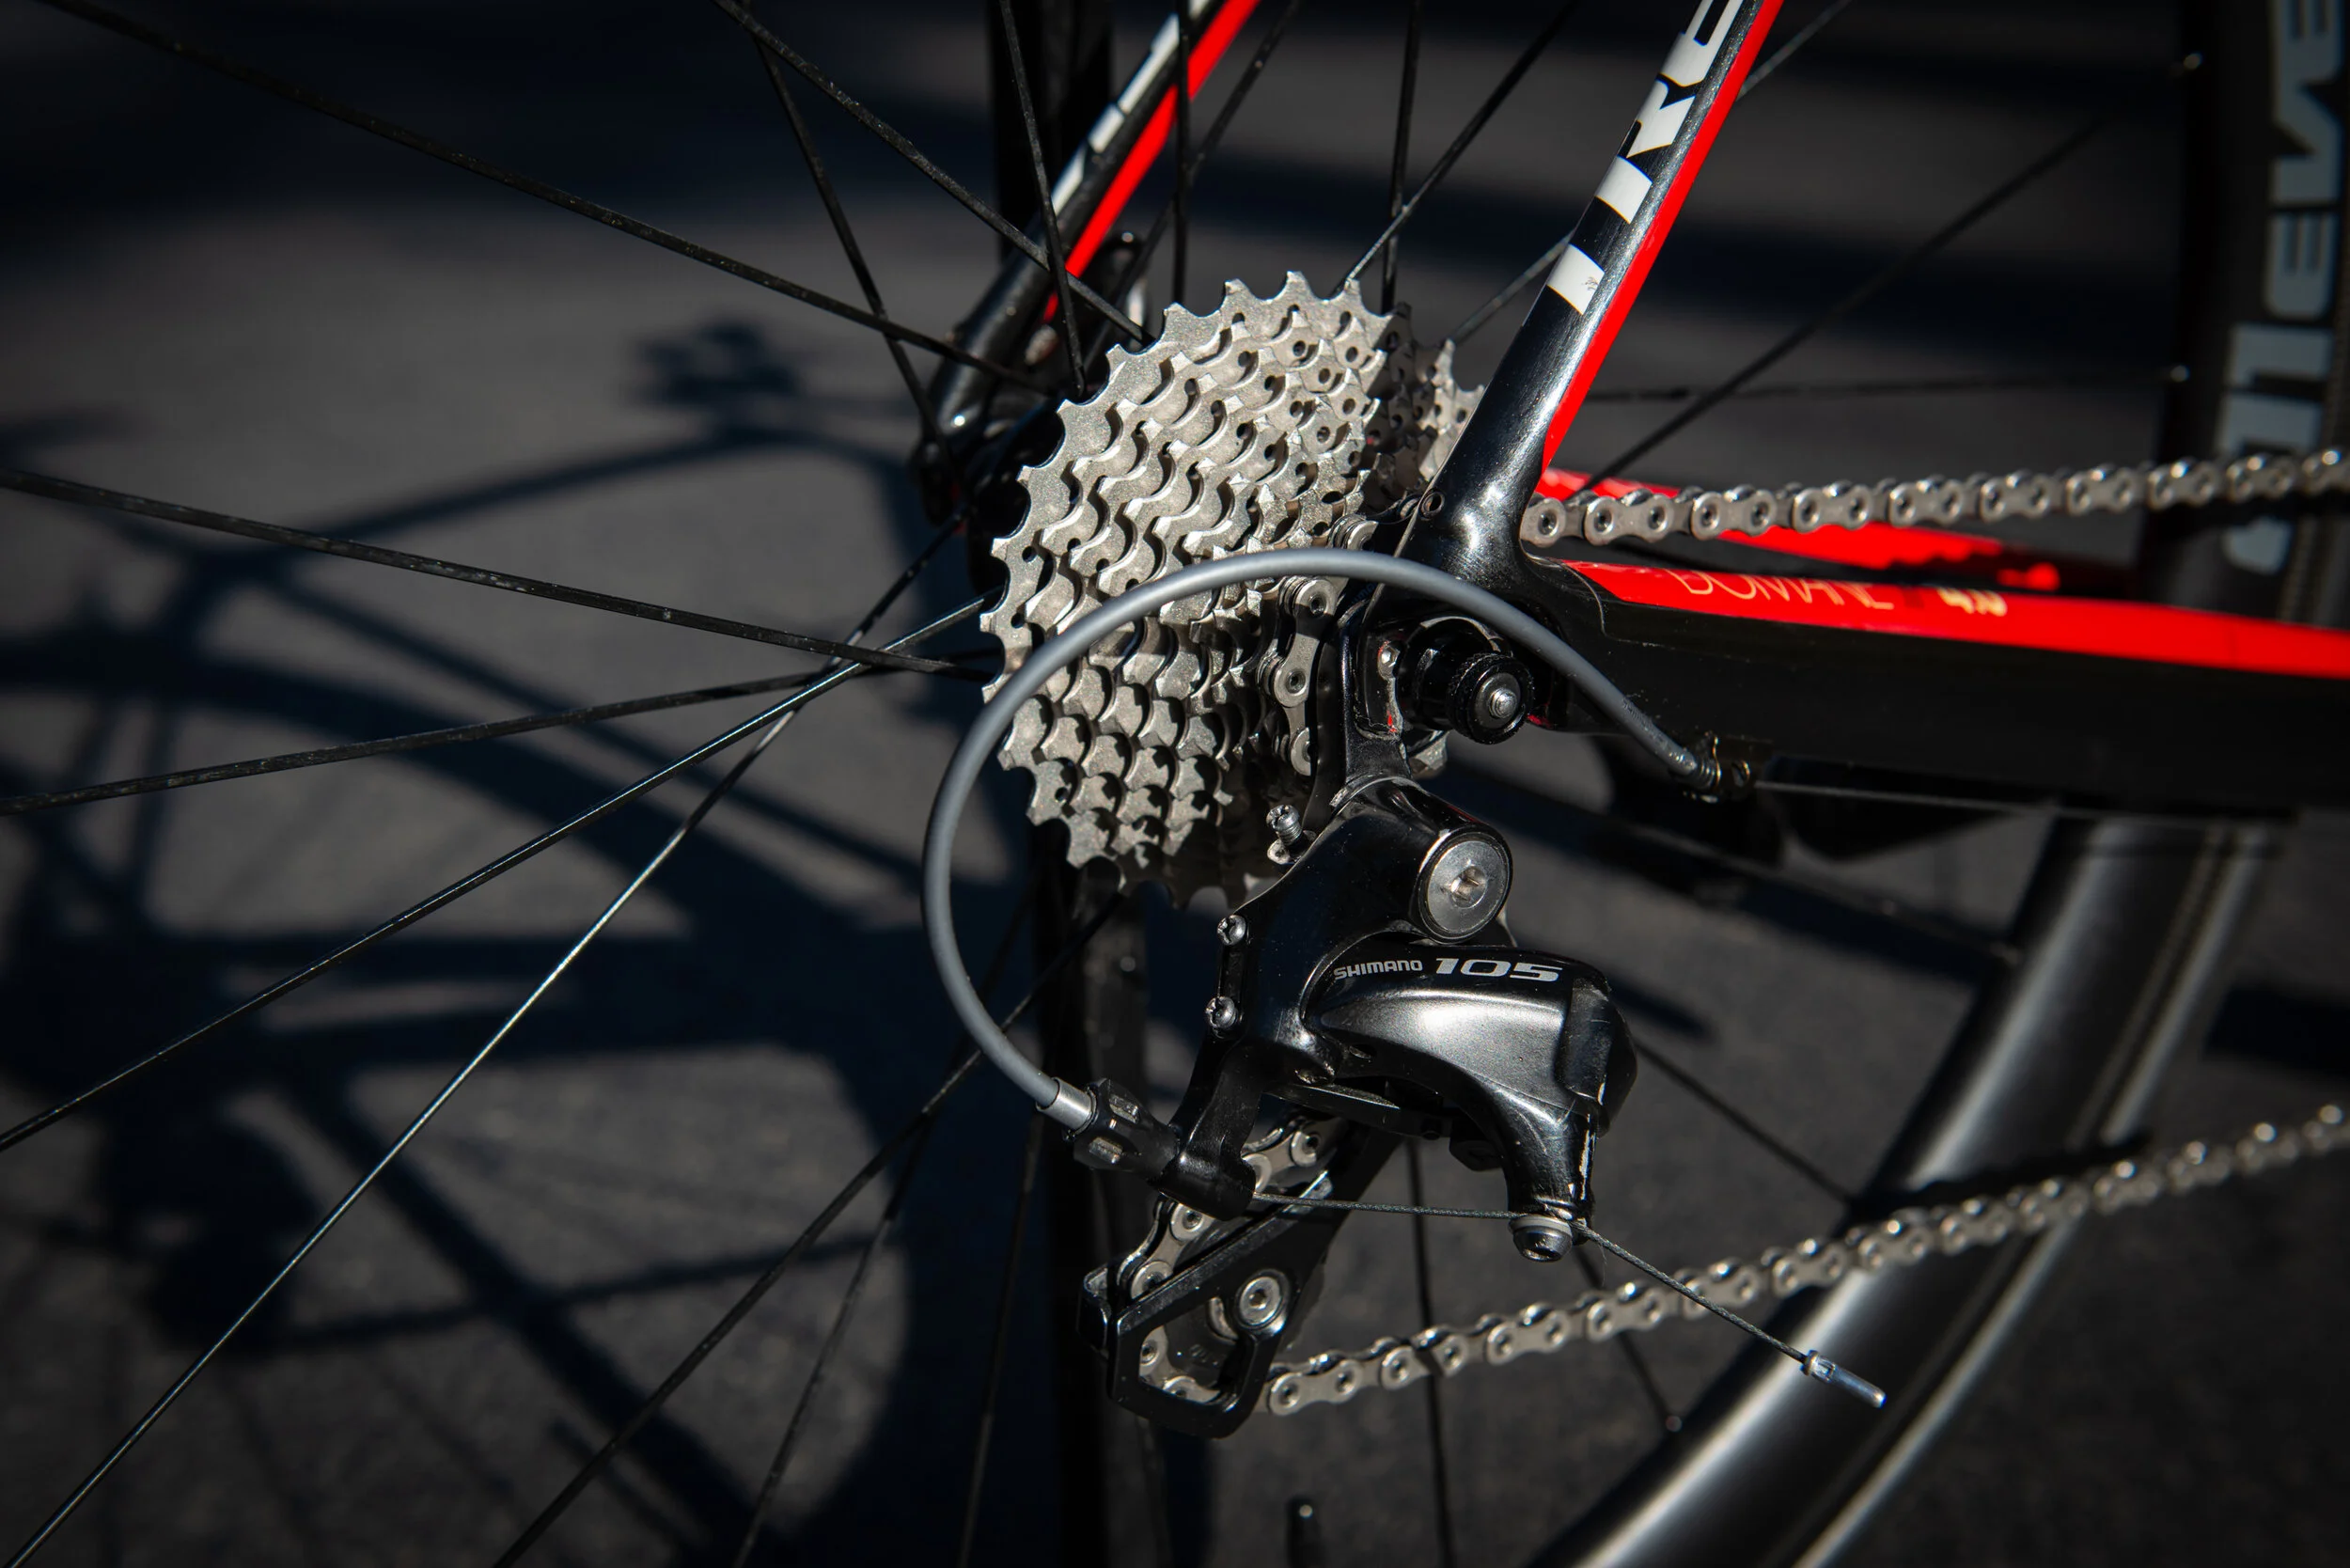
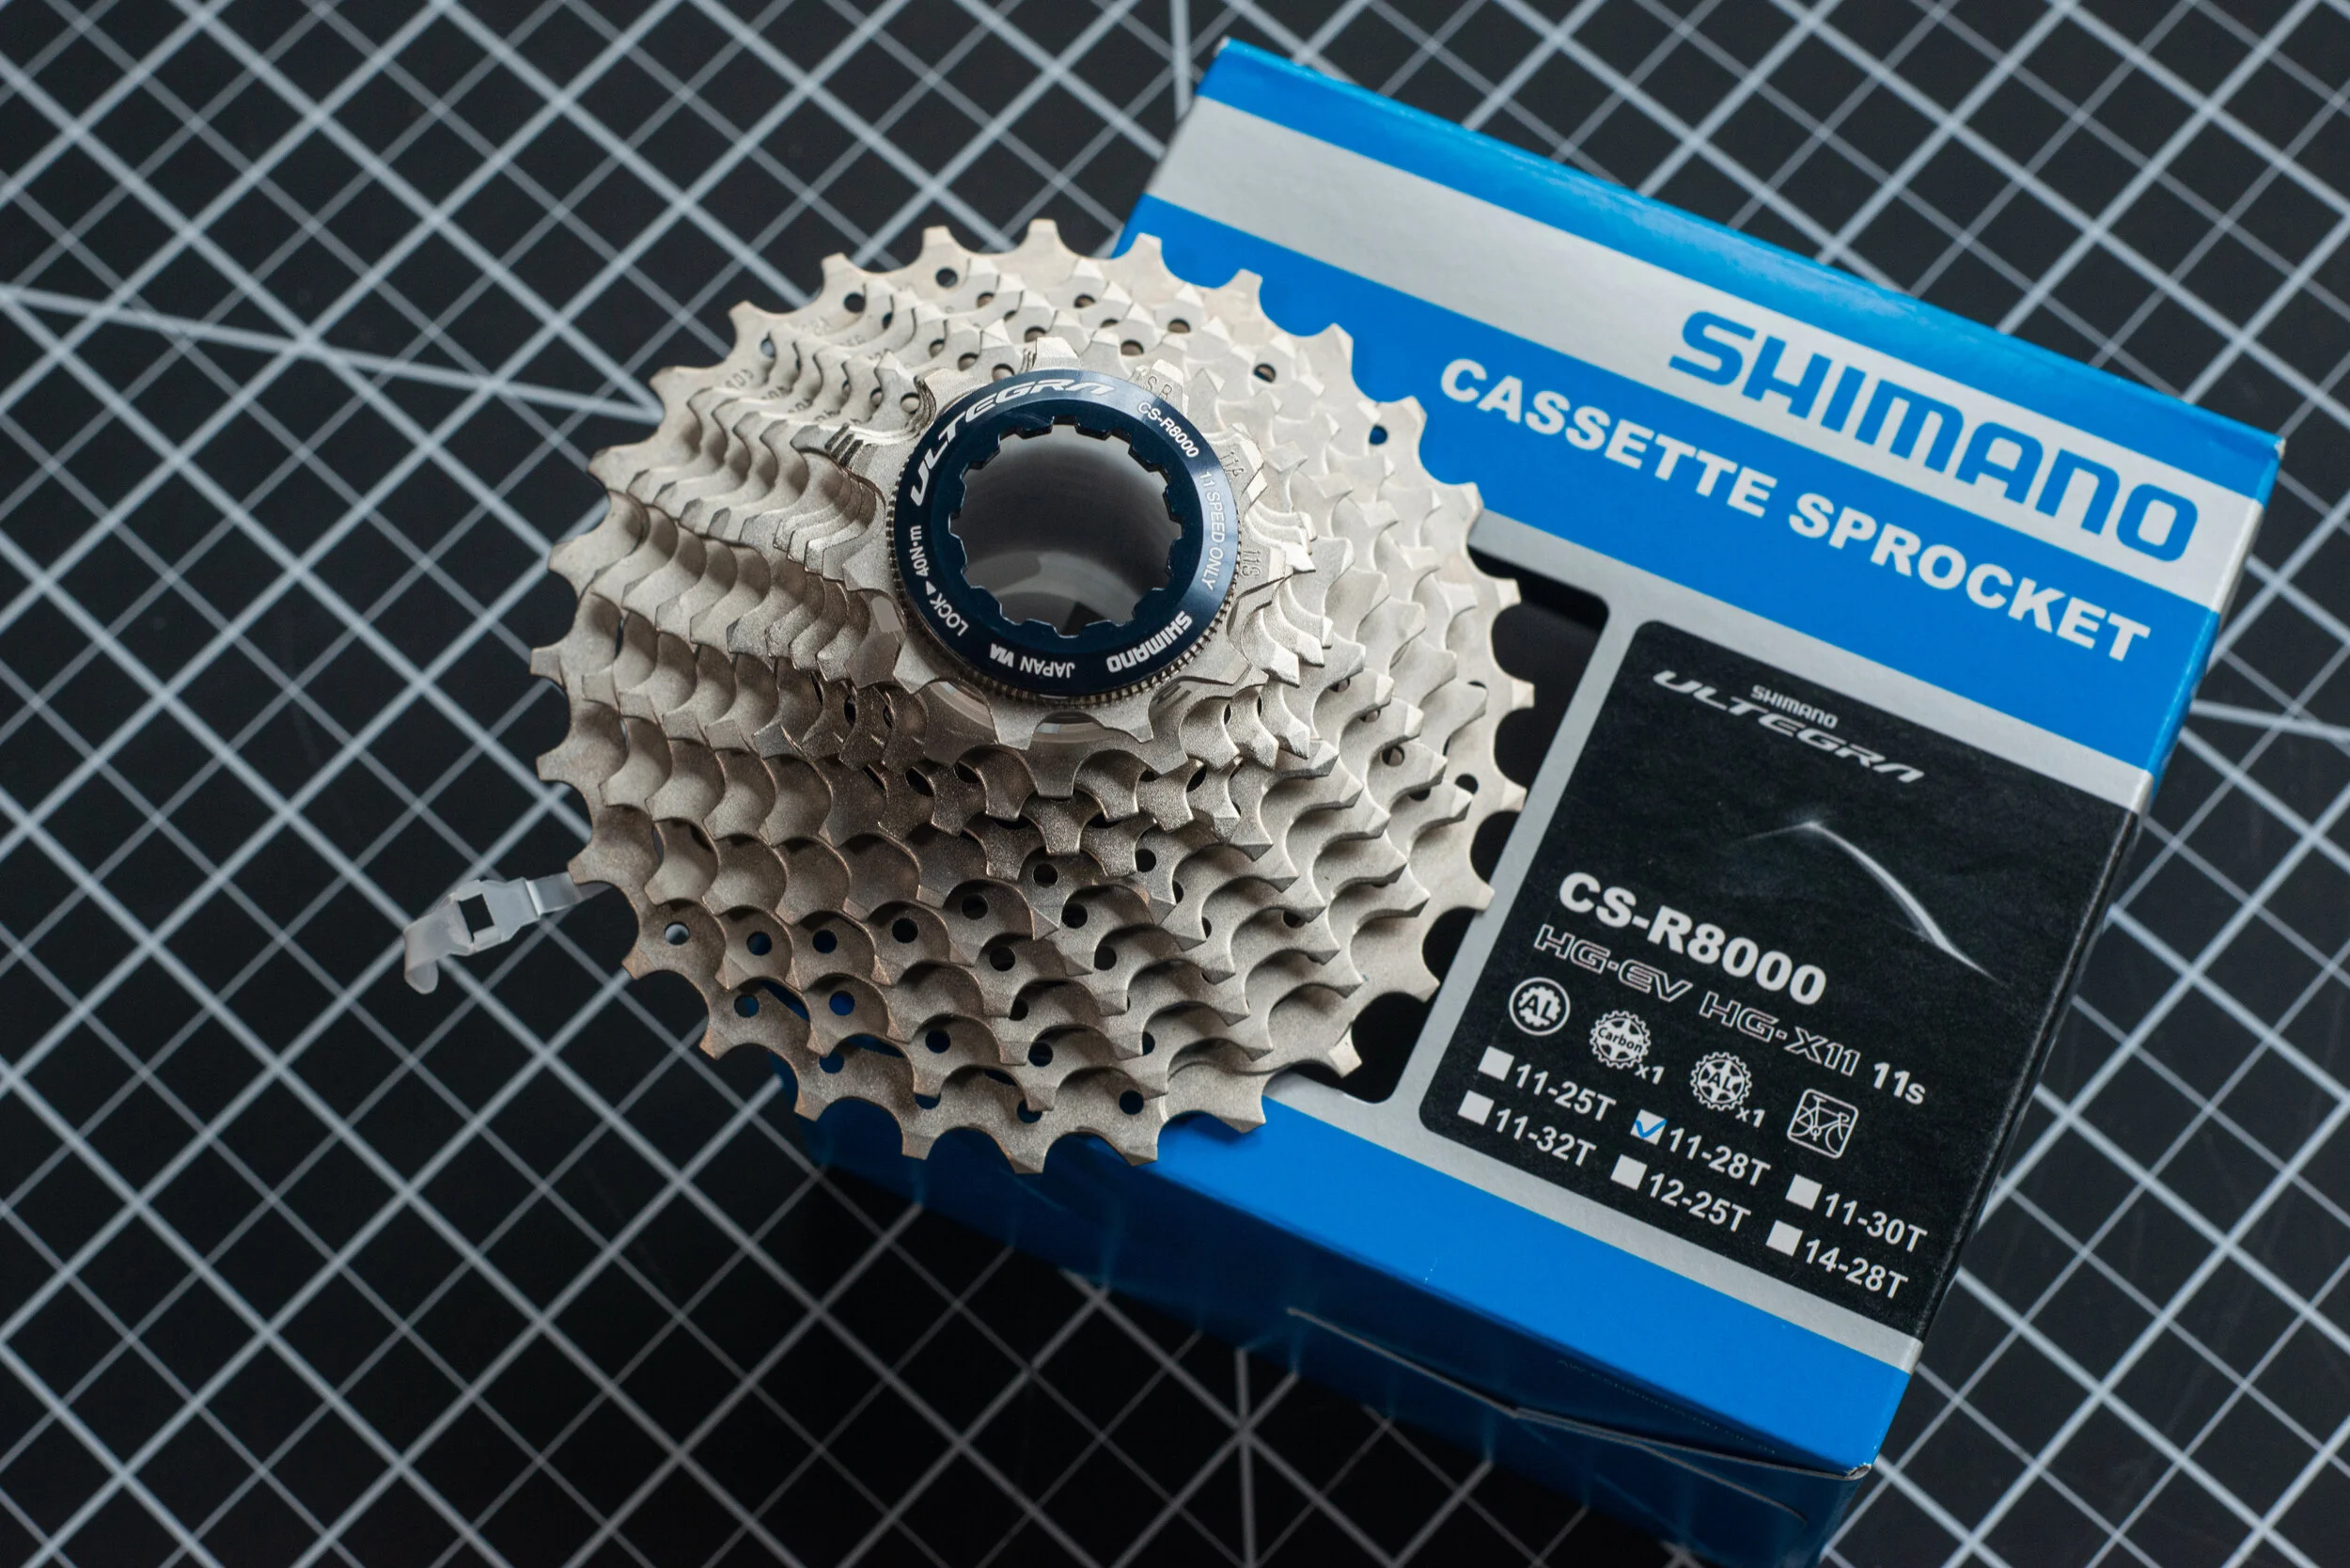
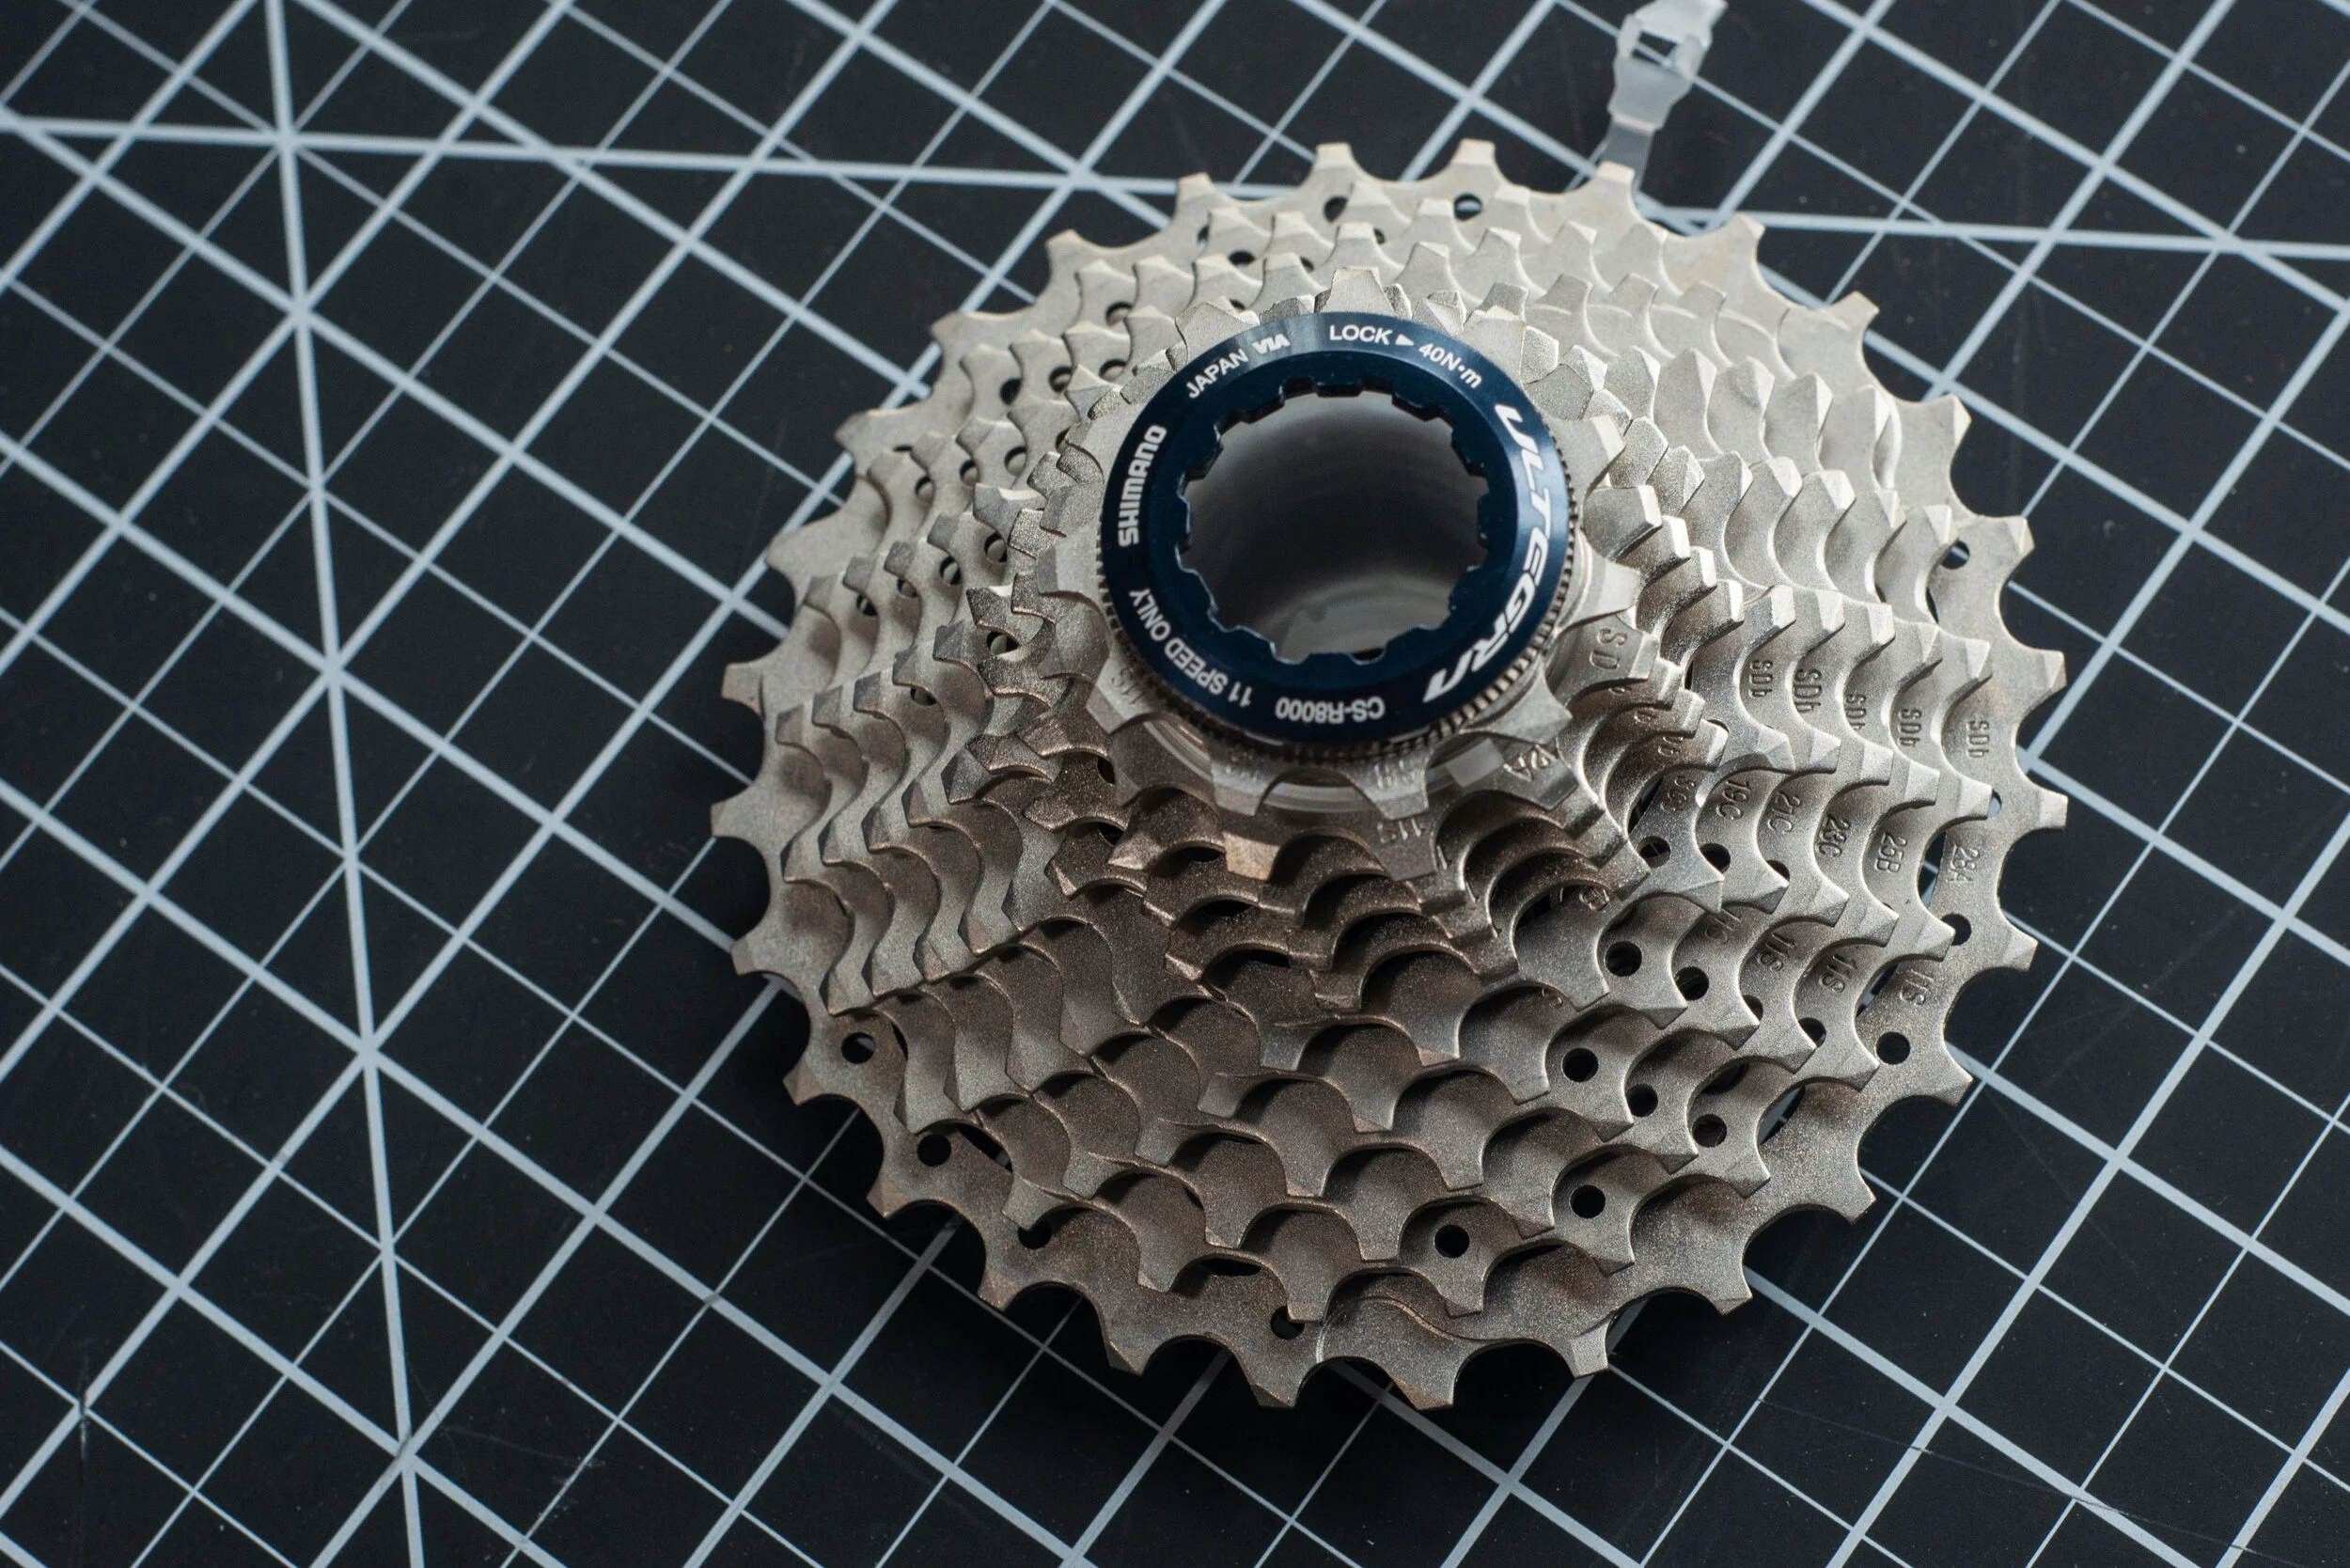
The first task on my list was to install a new cassette to the aero wheels that would replace my winter wheels. During the wintertime, I opted to ride with a less expensive set of aluminum wheels that were better suited to withstand the messy winter roads. Since the roads have begun to dry and clear up, I felt confident enough to put the carbon wheels back on the bike. This included the installation of a new cassette to the rear wheel. I purchased a brand-new Shimano R8000 Ultegra Cassette to replace the dated Shimano 105 cassette that I have been running for years. This update was sure to sharpen up the shifting significantly.
Below is a list of tasks that were included with the installation of the new cassette:
Begin by removing the rear wheel.
Unscrew the quick release skewer. Take care not to lose the springs when you unscrew the skewer. It might be useful to take note of how the springs are fitted before you remove the skewer.
Gather the following tools: Cassette lockring tool, 1-inch socket, wrench and a chainwip tool.
Hold the freehub in place with the chainwip tool and unscrew the cassette lockring using the other tools on my list.
Once the lockring is loose, the cassette can simply slide off the hub.
On the new set of wheels, it's again first a case of removing the skewer.
To prep the hub for the new cassette, apply some grease to the hub splines.
Use some anti-seize on the threads of the lockring - just to make it easier to loosen in the future.
Slide the new cassette onto the wheel and tighten the lockring back in place.
Take care to first tighten it up by hand, ensuring no cross threading and then use a heavy-duty torque wrench, if you own one, to tighten it up fully.
Refit the skewers and the springs in the same way that they came off.
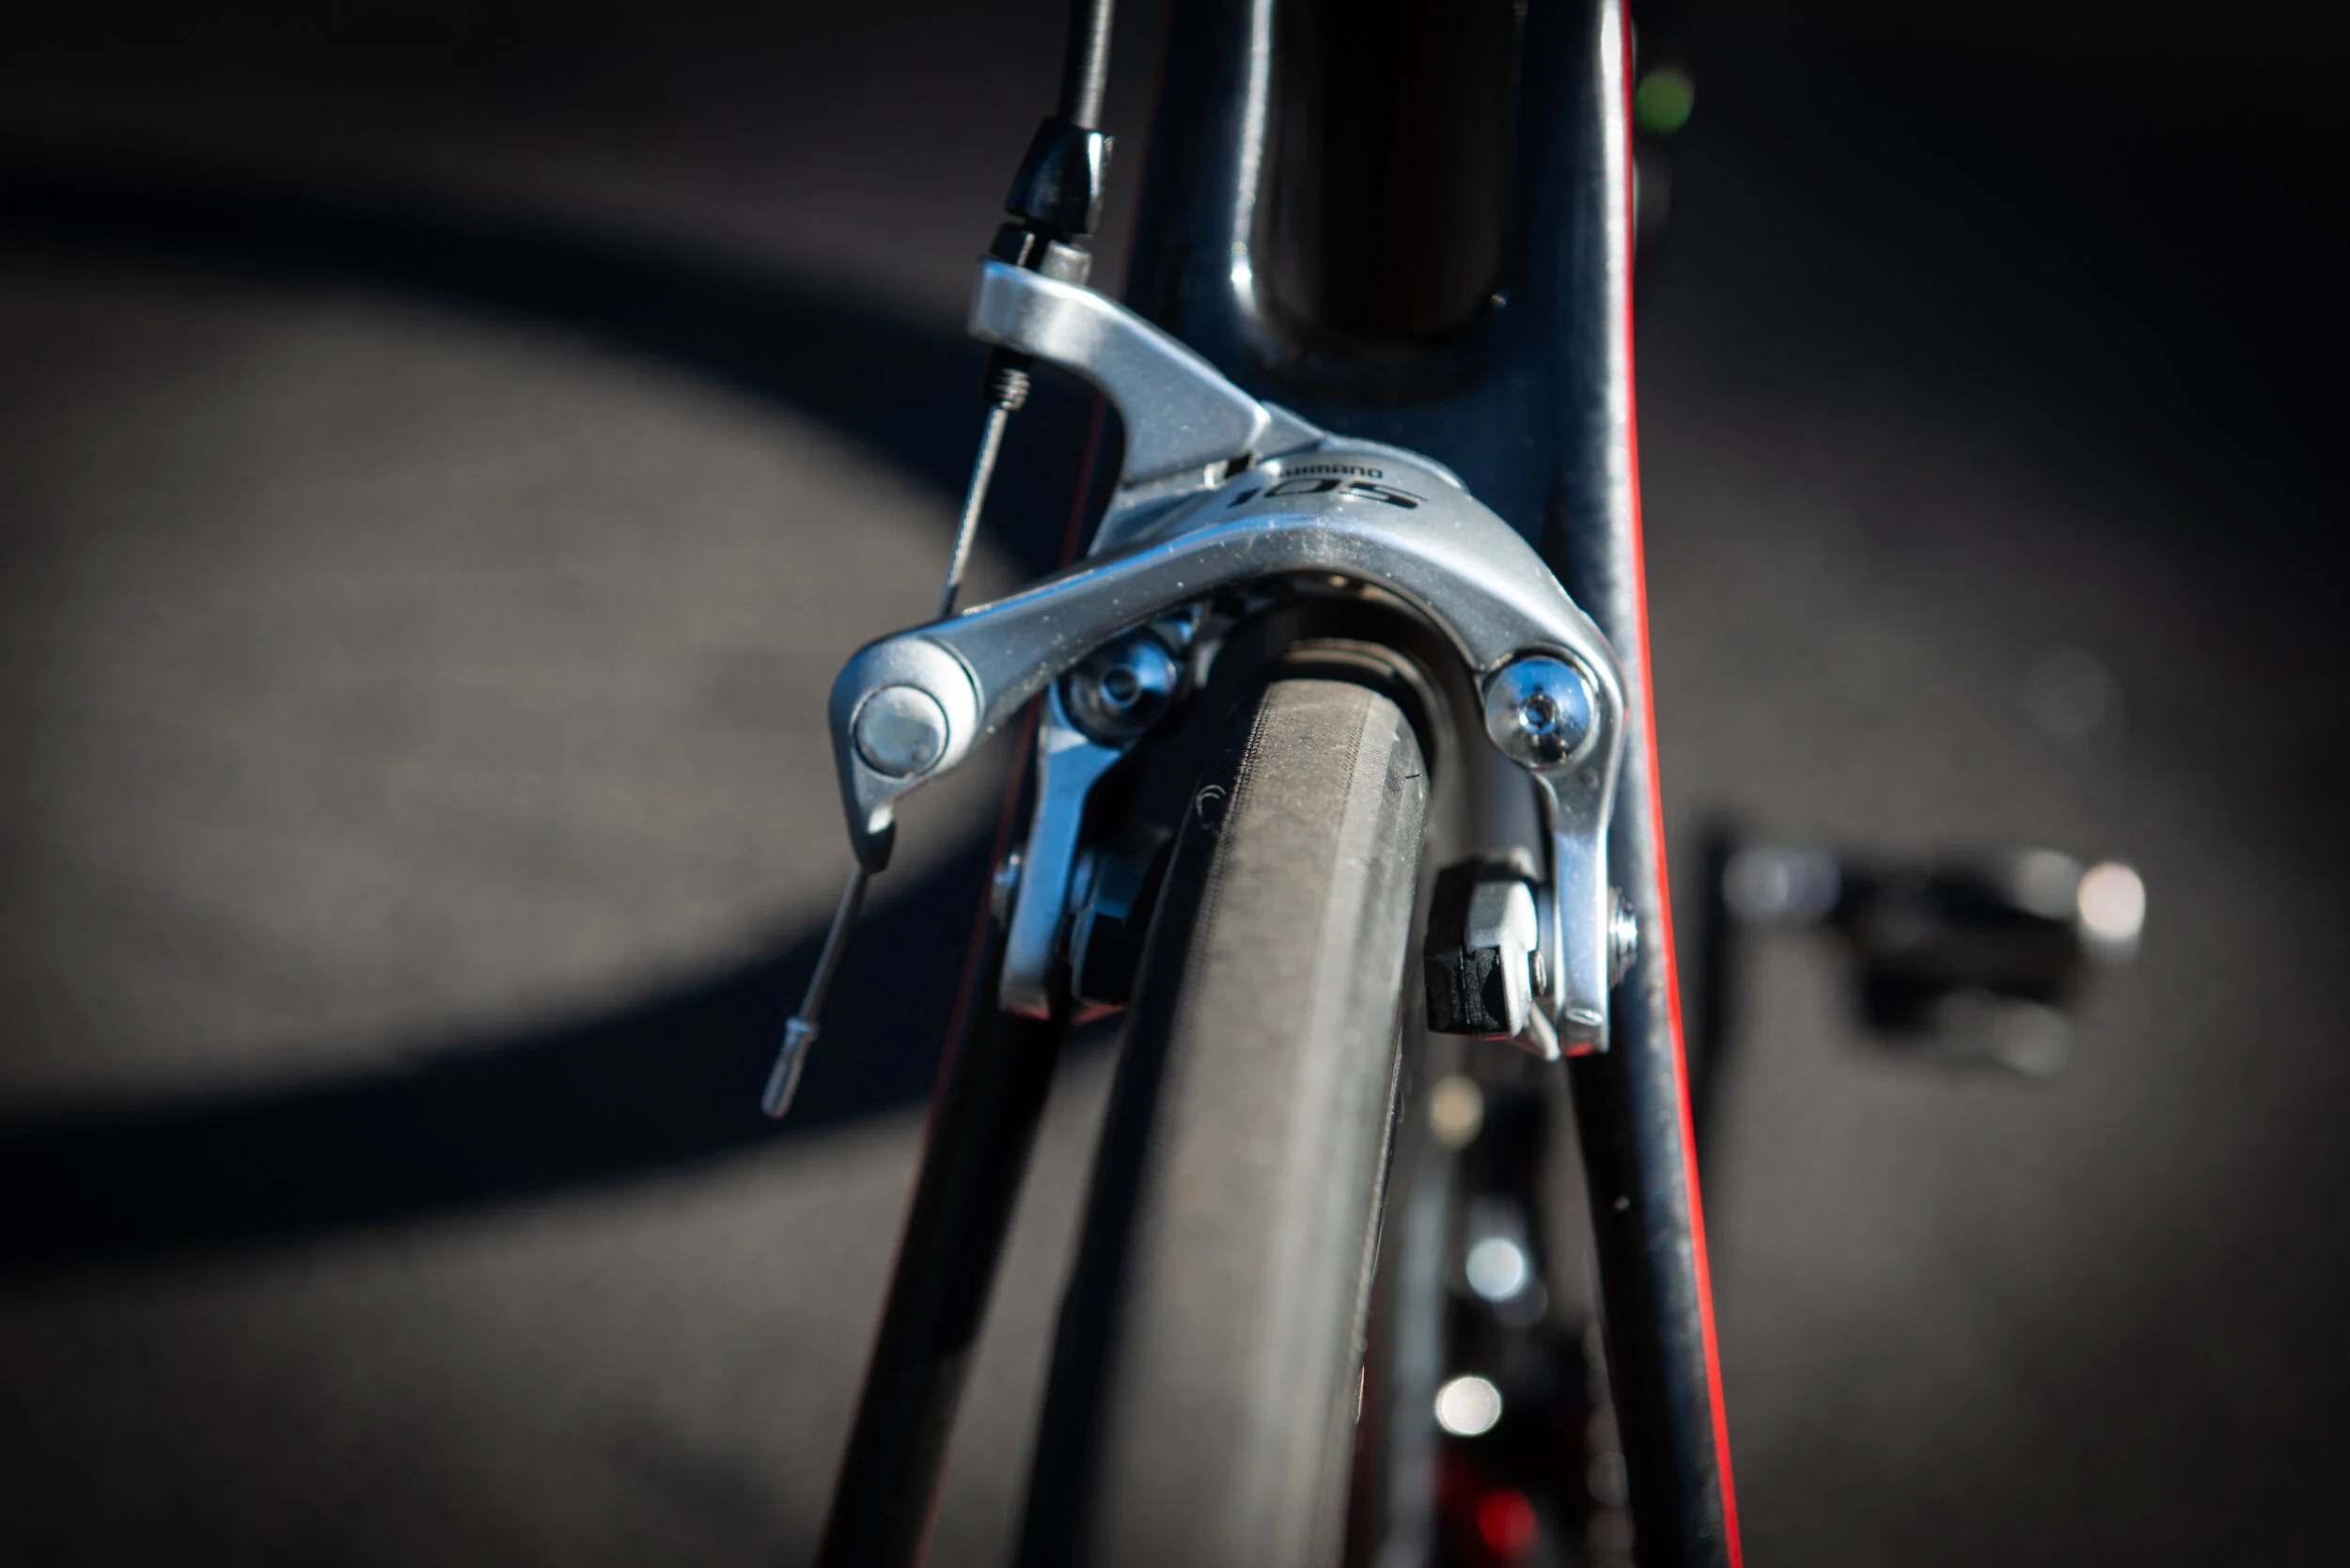
Replace the Brakes Pads
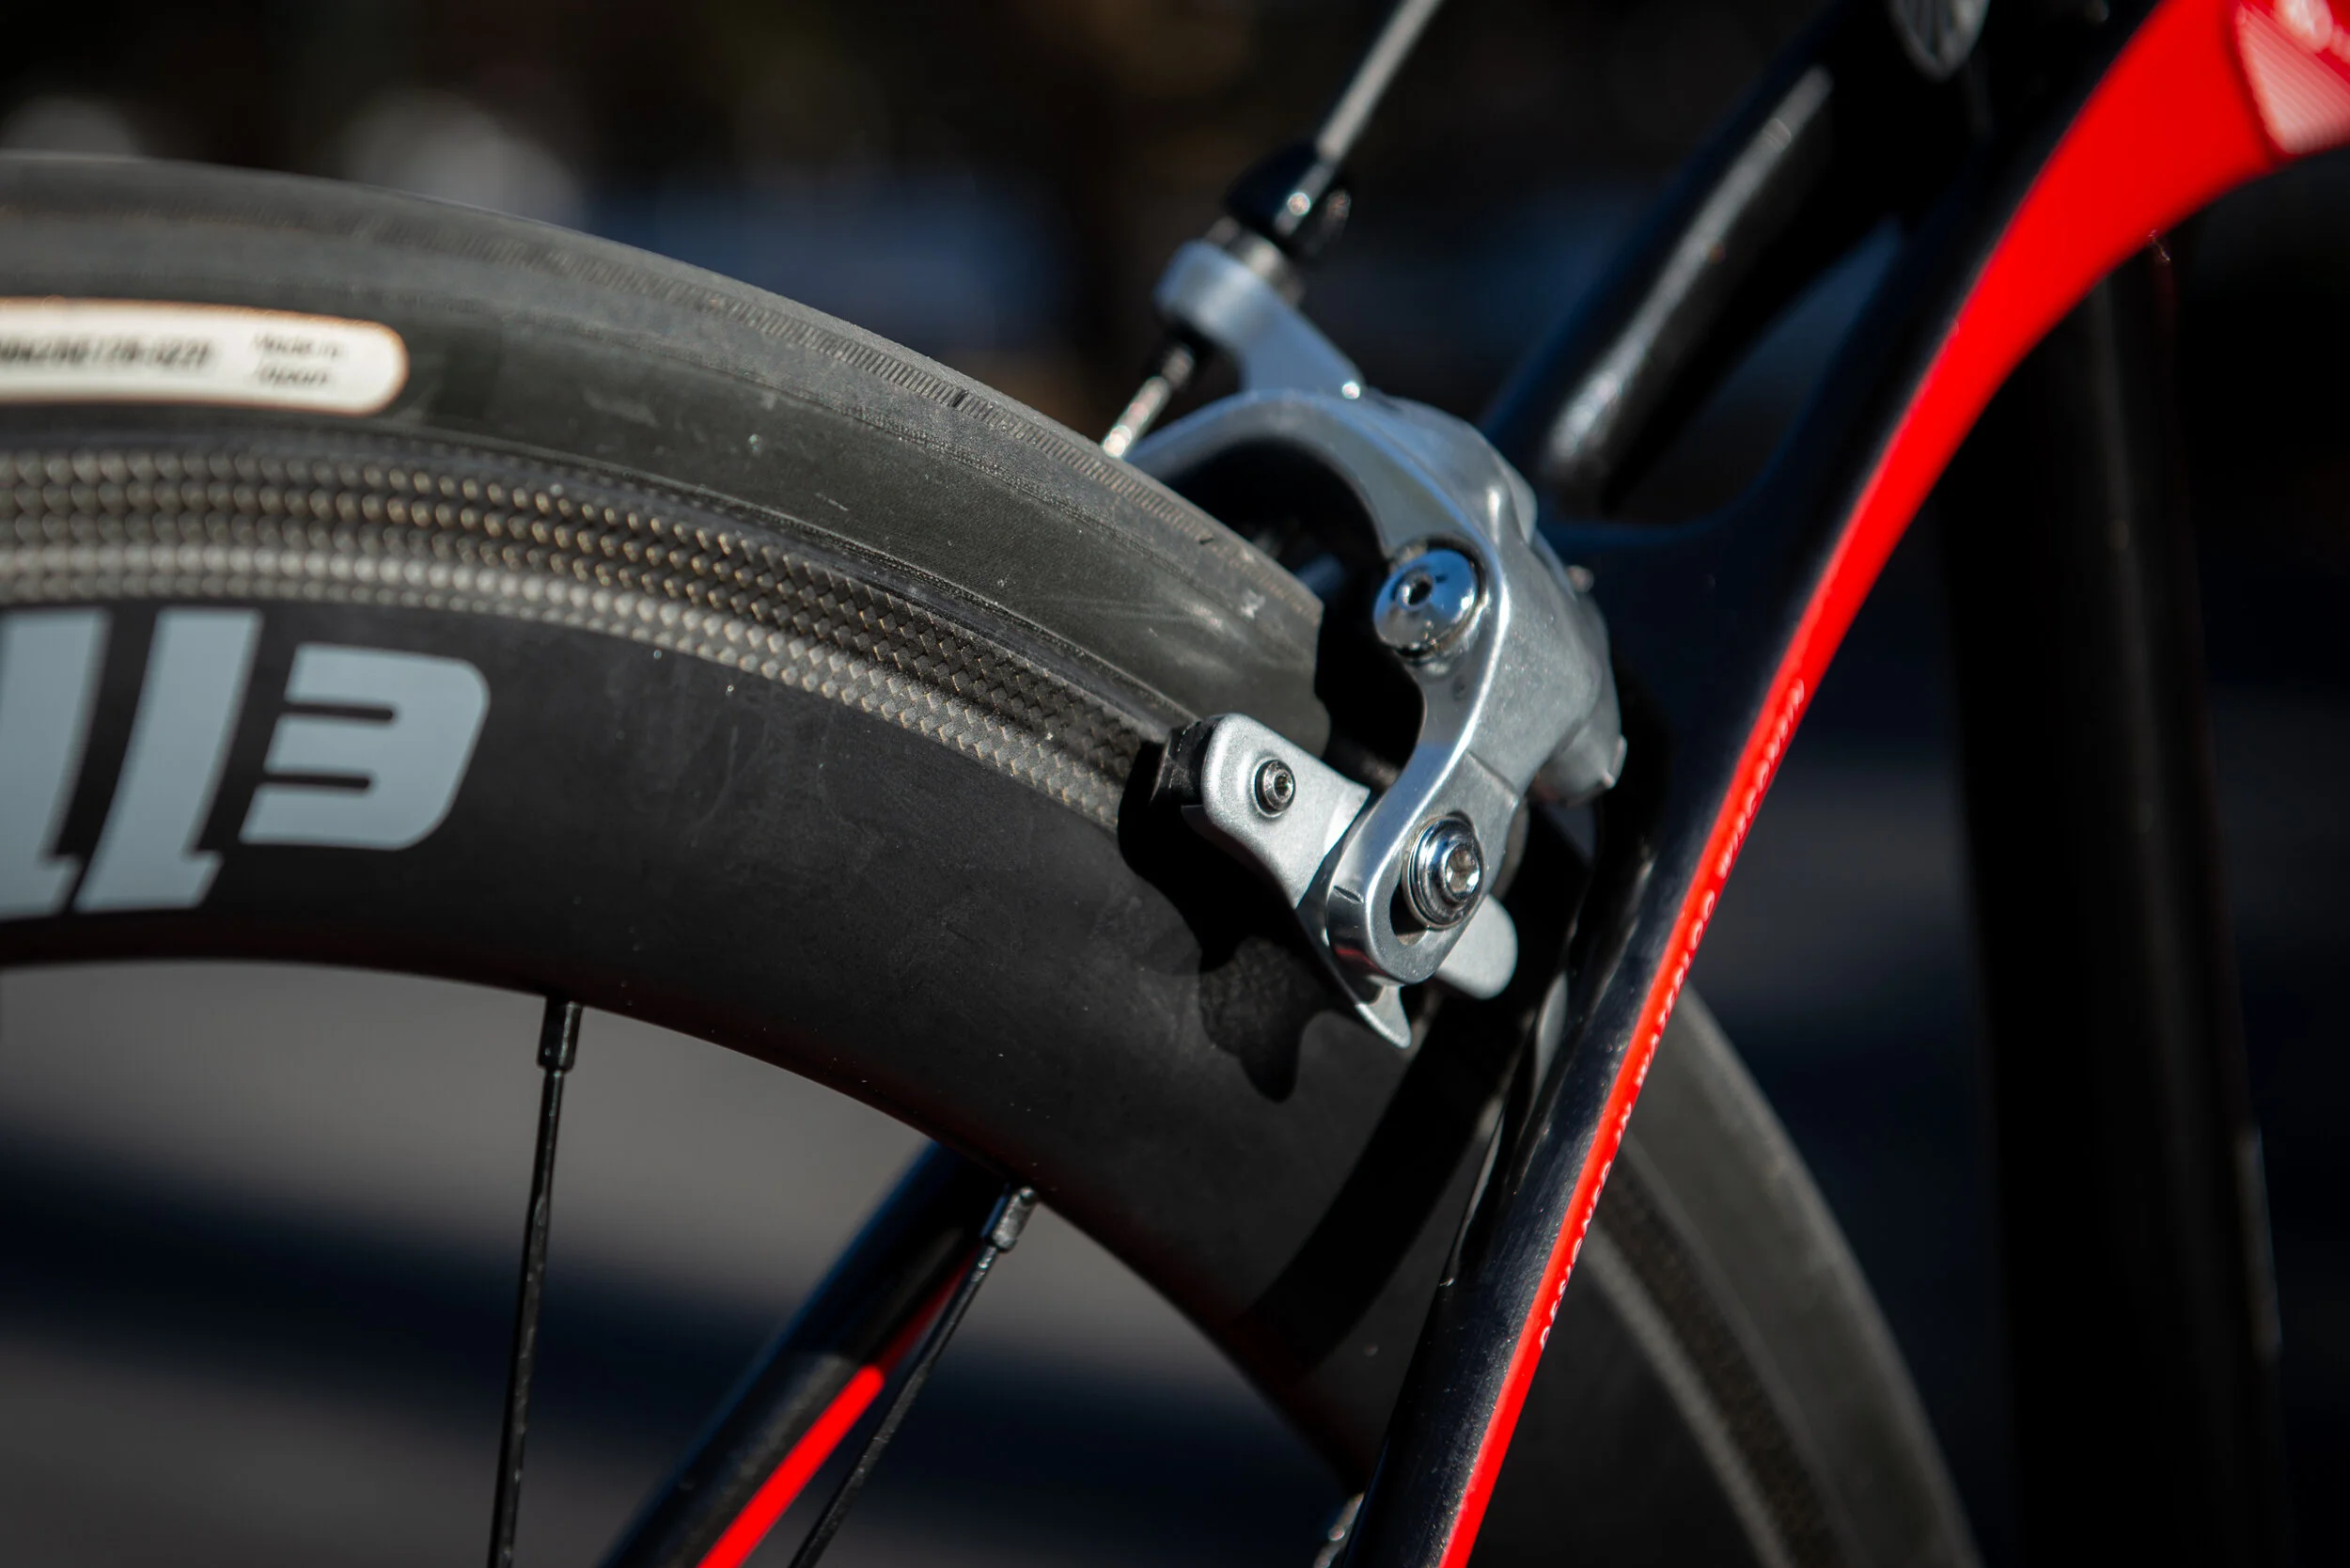
Since I replaced my aluminum wheels with carbon wheels, I also needed to swap out the brake pads to the correct carbon-specific pads. Maybe you aren’t swapping out wheels, but it’s definitely still worthwhile to check your brake pads to ensure that they are in good condition for outdoor riding.
Here is a list of tasks that might go along with this maintenance procedure:
First clean up the brake caliper as much as possible. This is where the baby wipes really come in handy.
Inspect to see what type of screw is used to secure the brake pad. For some reason my bike uses a 2mm hex on the rear brake and a Phillips head screw on the front brake.
Unwind the screw to the point where the brake pad is free to slide off the rail.
Select the correct right or left sided pad and simply slide the replacement into the rails.
Fasten the screw up gently. No need to over tighten this small screw since they can easily wear out.
Repeat the process on all the other brake pads.
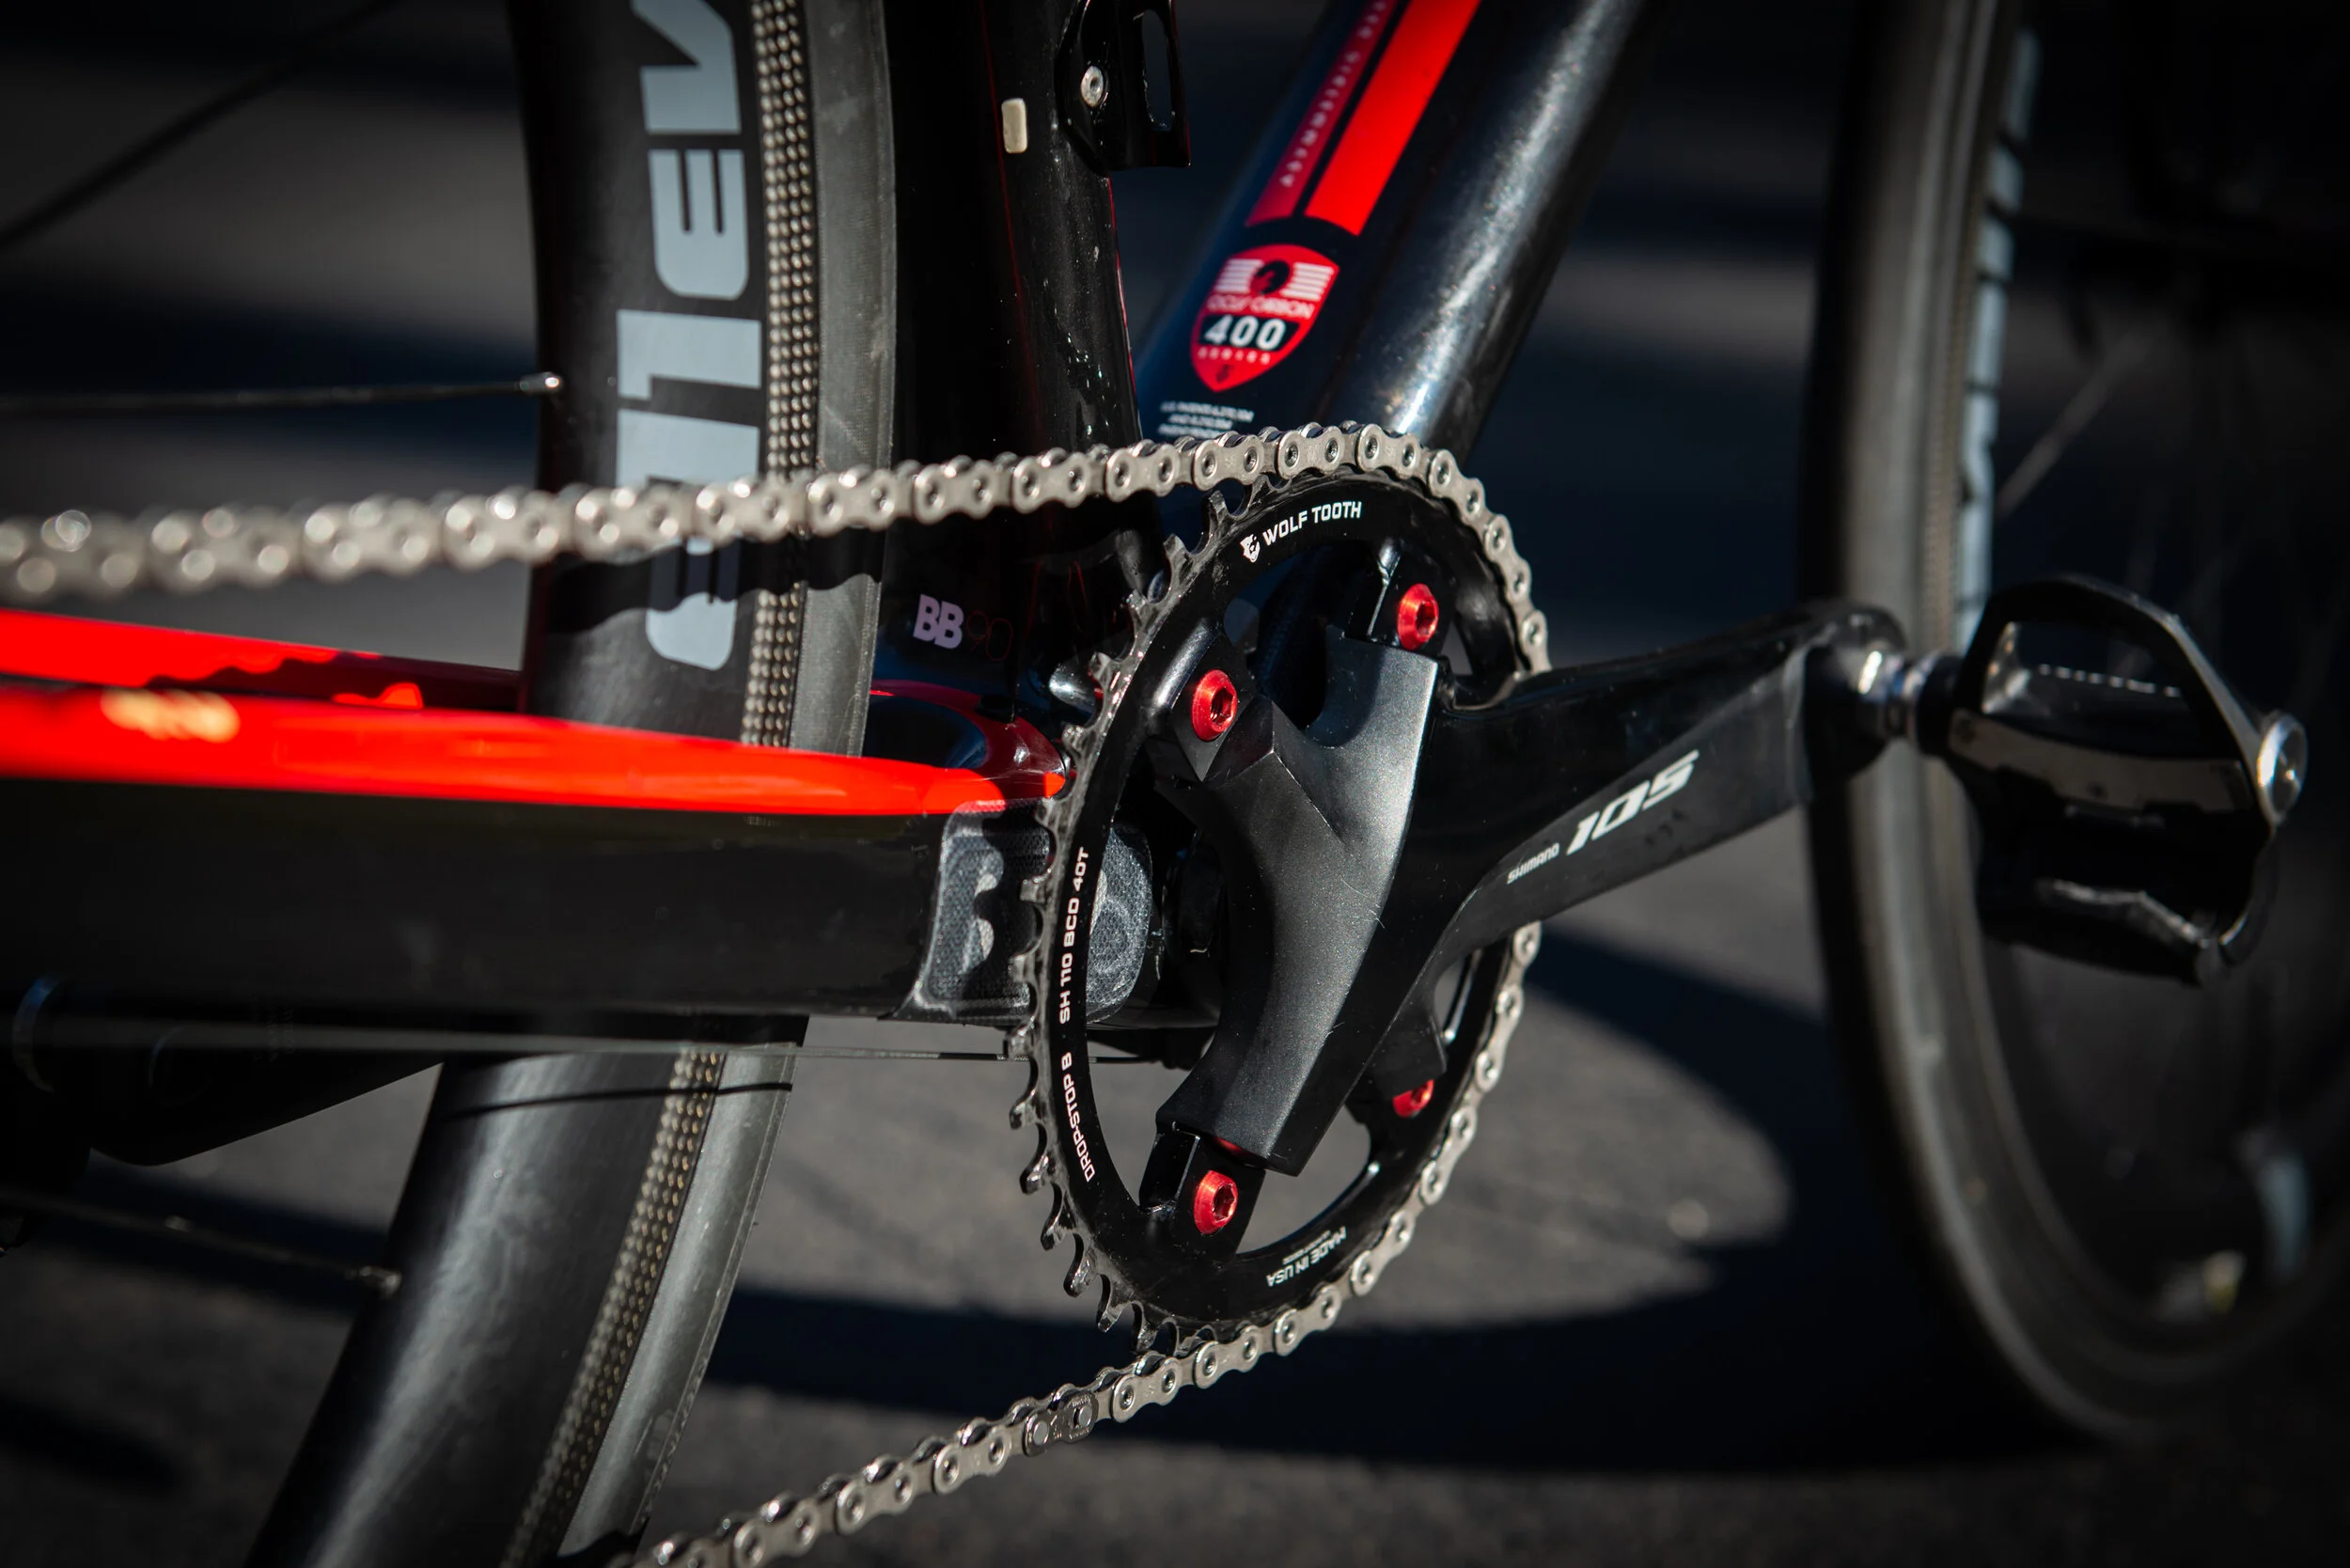
Service the Bottom Bracket & Crank
I’ve written about my experiences with a 1x setup in a previous post, but have since had a change of heart after experimenting with a few different products. I’ll be sure to provide a follow-up to my 1x post at a later date, but for now I’ll simply state that my spring tune-up included a conversion of my road bike over to a 1x setup. This conversion would require that I remove the whole crankset, and as such, I decided to give the area around the bottom bracket (BB) a good service while the cranks were off. While this procedure might have been the most advanced job on my list, it still only required a handful of tools to perform.
If you are interested to perform a similar procedure on your bike, then this list provides a breakdown of what goes into this maintenance task:
Start by removing the chain. Locate the master link and then use chain pliers to break the chain making it possible to remove it all together.
Ensure that you research the removal and installation of your cranks. The steps that follow relate to Shimano 105 cranks (on my bike) and if your setup differs, then you’ll need to understand how your crankset operates before continuing.
For Shimano compression cranks, you'll need a tool like the BBT 10.2 to loosen and remove the cap on the end of the crank.
Start by loosening the crank bolts in an alternating fashion using the appropriate hex tool.
There is a stop plate that needs to be lifted out of the way. Use either the BBT10.2 or a flat head screwdriver to do so.
Remove the crank cap to allow the left crank arm to be removed.
Use a soft mallet to tap out the remaining part of the crank.
The next point of focus is to clean off the BB bearings. This includes cleaning the dust seal that sits on the outer edge of the bearings. Try not to use any degreaser on this part of the bike. The last thing you want to do is drive out the grease within the bearings.
Re-installation of the cranks come next. Apply some grease to the spindle, but don't over-do it either.
Use any excess grease on the inner parts of the bearings.
Once the cranks are fully seated back through the BB, ensure that you refit the dust seal.
Lightly grease the threads of the left crank arm before it's installed.
Tighten the crank cap back up, but don't over tighten it either. All that is needed is to get it finger tight. Too much pressure and you'll put additional side load on your bearings, making them wear out more quickly.
Secure the stop plate back into place.
Check the side of the crank for the correct torque setting for the crank arm bolts.
Finally, tighten the crank bolts back up in an alternating fashion using a torque wrench.
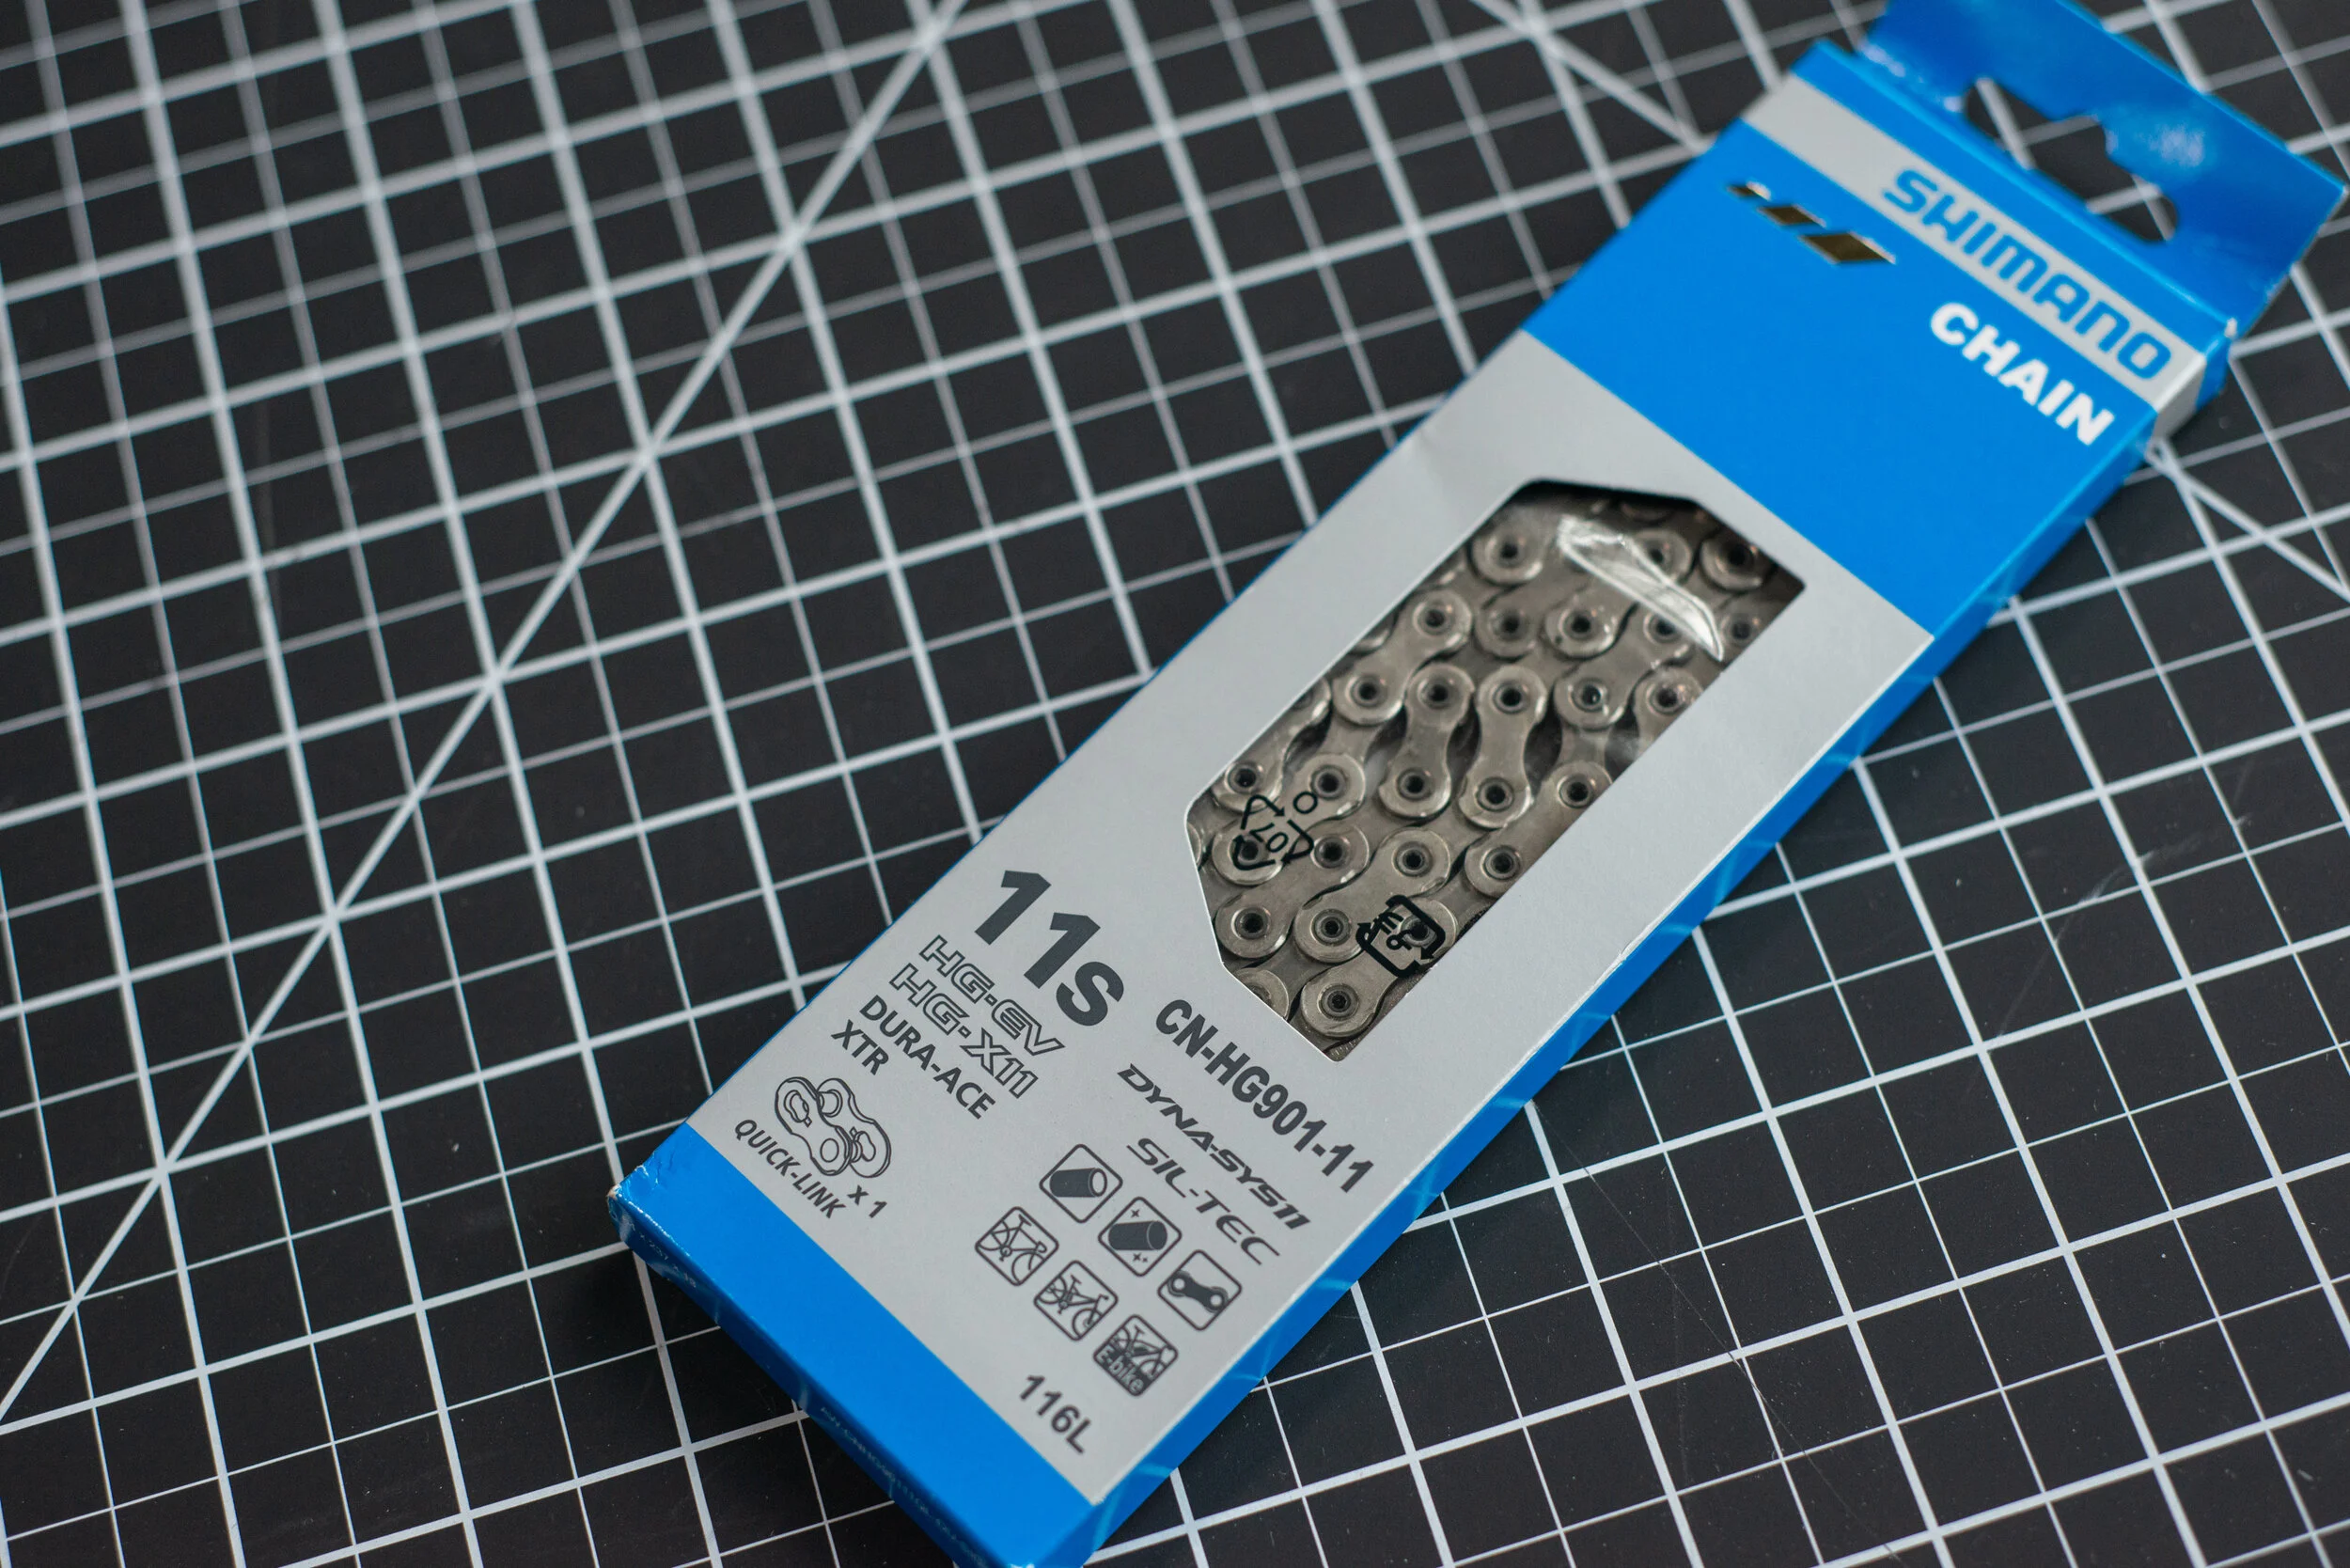
Fit a New Chain
The last item on the list was to fit a new chain to the bike. Since I converted the bike to a 1x setup, the chain length had to be resized. Check out the Park Tools video to get more information about how this should be done. If you are simply replacing an old chain, then you basically just need to match up the new chain's length to the chain that you are taking off. Cutting the chain to size will require a chain breaker tool.
Here are the steps that you’ll need to follow to complete this task:
Remove new chain from the packaging and wipe off the factory grease with a paper towel.
Follow the correct chain sizing procedures.
Cut the chain to the correct length using the chain breaker tool.
Ensure that you have the new master link handy before installing the new chain.
Run the chain through the rear derailleur. Ensure that that you check for chain directionality - Shimano chain should be installed with the writing on the chain facing outward.
Connect the ends of the chain up with the new master link and then lock the master link in place securely. This might involve a sudden extension of the chain, while you hold the rear wheel down.
Check to see if your gears are shifting correctly. If you did not alter the cassette ratios significantly then the gear indexing should still be correct and shouldn’t require any changes.
Finally apply some fresh chain lube to the chain.
Wrap-Up
A bit of elbow grease can go a long way to get your dusty old steed looking fresh and ready for the warmer weather riding. While it’s still a good idea to get your bike professionally serviced at least once a year, there are a few maintenance tasks that can be performed at home to help save some time and money. Keep in mind that there is currently a general shortage when it come to bike components and if you are planning to add a few new parts, then now might be a good time to place the orders. Hopefully my spring tune-up breakdown helps you plan out what can be done to get your bike ready for the warmer weather months. If nothing else, simply show your bike some love by cleaning it up well before your next ride. A clean bike is a happy bike!
- Wiehan